Getting Ready
As I look back on the last six years, it seems that we have forever been either traveling, or getting ready to travel. This summer is no exception; in fact, it exemplifies the syndrome.
Since our travel is usually somewhat spontaneous, even capricious at times, “getting ready” normally means getting our motorhome Howie and our 4×4 Ralph ready. And ready is much, much more than routine maintenance. For Howie and Ralph, ready means a virtually never-ending litany of mods, upgrades, improvements, or remodels for the sake of that elusive goal – – – the perfect set of vehicles.
Being a career systems engineer (multi-discipline), and also a fairly handy guy with a nice workshop, almost all of the changes have been done by my own hand; heavy chassis components are the sole exception. And I freely admit, I’m almost OCD-relentless in my pursuit of useful changes and upgrades. (Karin might argue against the use of the word ‘almost’.)
So – – – this post is not like most of my other writings. It’s not about where we are, or where we’re going, or how beautiful we find the scenery or wildlife. It’s more like a Tool Time episode of sorts. This post is about our erstwhile steeds, and the long list of changes we’ve made over time. It might be boring for some, fascinating for a few, and perhaps mildly interesting for the rest. You be the judge.
Oh, and don’t get me wrong – – none of this is any kind of a chore. It’s a true labor of love. Fine tuning our travel ensemble, to fit our exact needs and wishes, is nearly as much fun as traveling itself. And although I’m the master designer and fiddler-arounder, it’s important to give Karin well-deserved credit for the instant help that she delivers whenever I need an extra pair of hands, or another viewpoint for a strategy or priority. Thank you Lover, you’re a Princess.
[Please note, this post is NOT meant to be a how-to article about any topic or specific. Such a level of detail would occupy a small encyclopedia, and the most stalwart of my readers would certainly be asleep before finishing Chapter-1. I’ve done a few posts on projects, with greater detail (click on the blog-dropdown ‘project’), but this ain’t really one of those. Instead, I’m trying to lay out a grand-summary picture of how we’ve specialized our vehicles to best suit us. (For the RV-ers reading this, perhaps a few DIY seeds may be sown, who knows.) For anyone who might be interested in more topics or more details, you can try browsing my articles over at rvtravel-dot-com. I’ve written 100+ “tech tips” on various RV topics and projects.]
This summer, most work was on the interior remodeling. But irrespective of time-frames, I’ll outline some of the more interesting stuff done to Howie and Ralph since 2010.
HOWIE
I started modifying Howie as soon as we bought him, and I have to confess that I’ll probably never stop. From the tires touching the ground to the antennas scratching the sky, there is almost no element of Howie I’ve left un-touched. As our home away from home, nearly every aspect of Howie was subject to “tweaking”, and changes were made across the board:
- Chassis & towing
- Engine and running gear
- Appliances
- Electrical systems
- Plumbing systems
- Interior decor
- Accessories and features
Certainly, some mods are more noteworthy than others, and I’ll focus on those. Sure, I got some benefits by re-programming the ECU (Engine Control Unit) and installing free-flow mufflers – – but do you really want to read about that? Probably not.
Solar System and Lithium Batteries
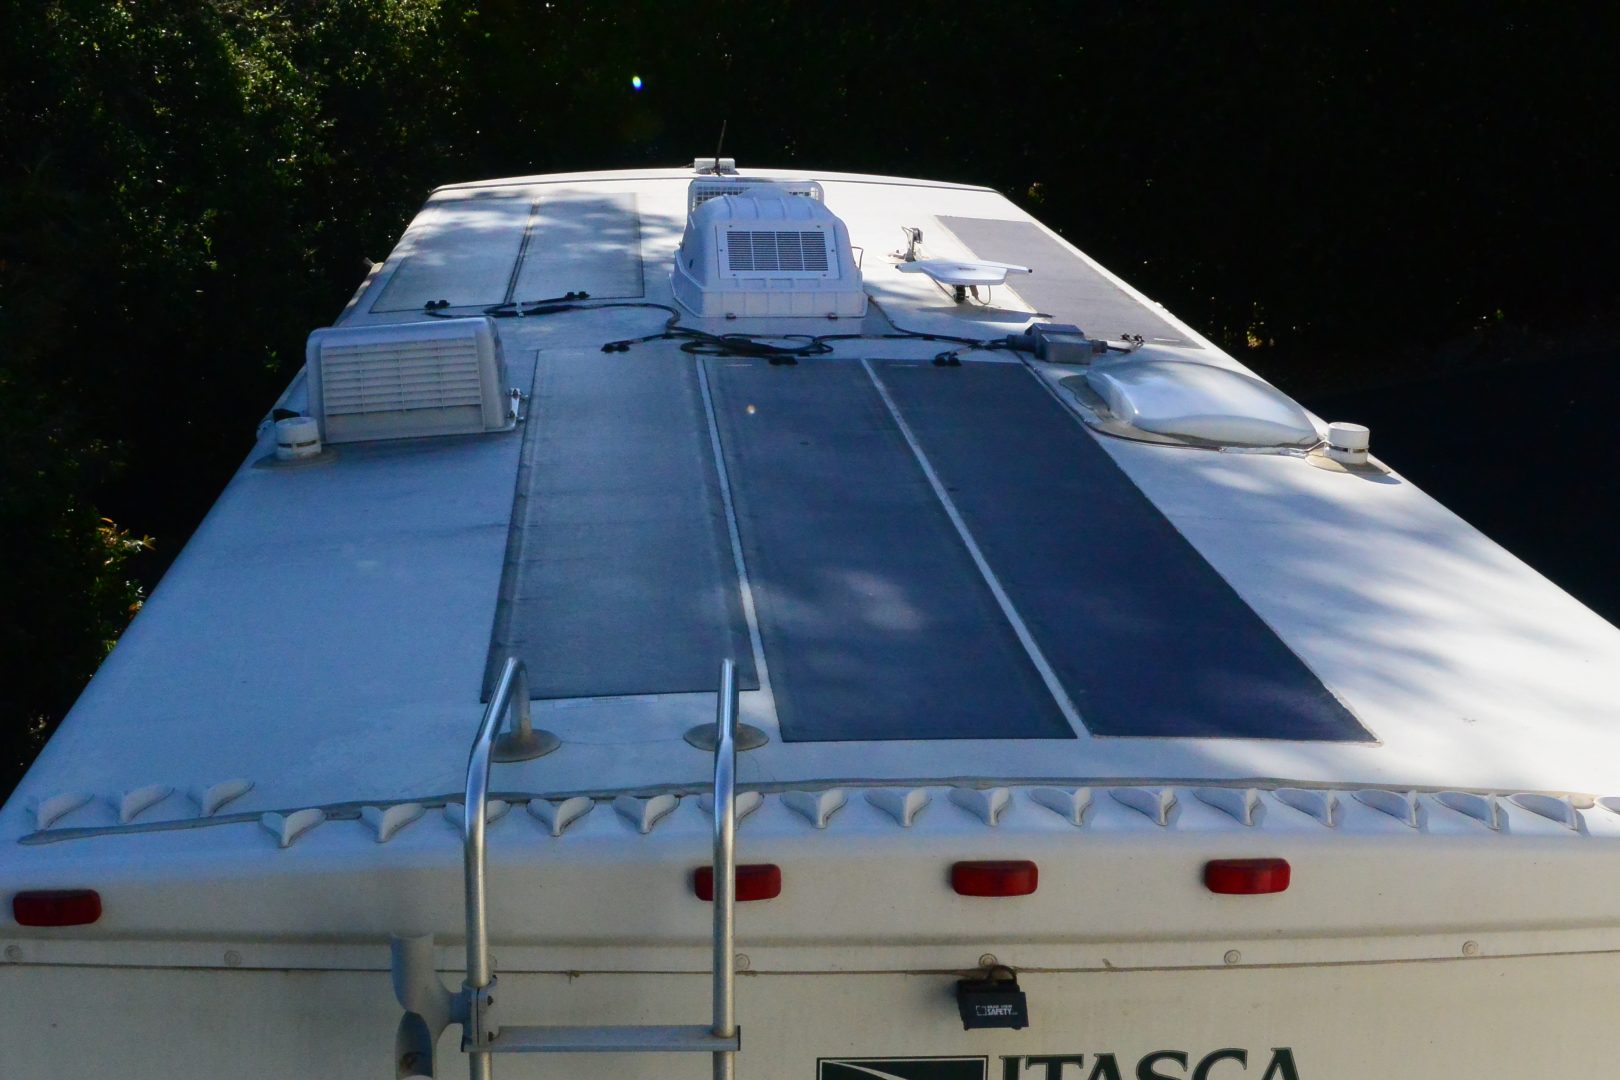
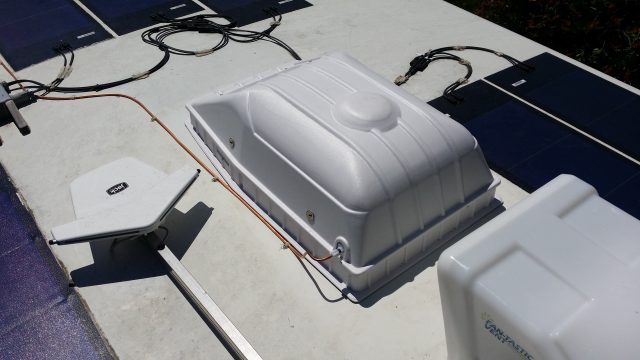
We knew from the beginning that RV parks weren’t our cup of tea. The bulk of them are crowded, noisy, and far from scenic. All they have, generally, is water, sewer, and power. Boondocking (wild camping) would always be the order of the day for us, and a decent solar system was an early requirement. We started out with about 140W of panels, and they worked great. But as we became more independent, we needed more battery capacity, and more solar capacity to recharge the batteries.
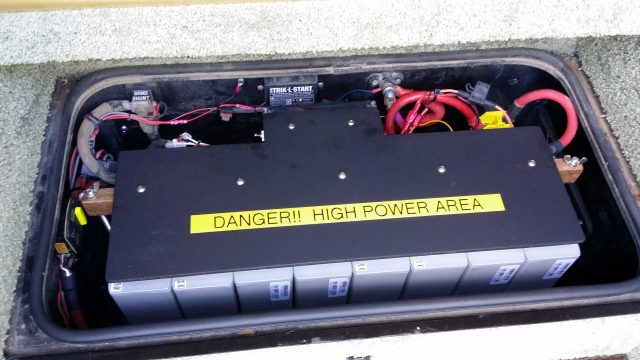
We moved up through the usual layers of standard automotive (lead-acid) batteries, and finally made the jump to lithium, along with 400+W of roof panels. With 360AH of usable battery power, we can camp off-grid for many days, even in the shade or stormy weather, without any need for generator power. It’s truly enabling.
The lithium pack (lithium-ferrous-phosphate, LFP, fire-proof technology) acts the way batteries should act. They put out horrendous amounts of power with no compromise, and absorb back as much as any power source we can provide. Whereas our puny lead-acid batteries would take a full day of driving to charge up, our massive LFP pack is fully charged in less than three hours.
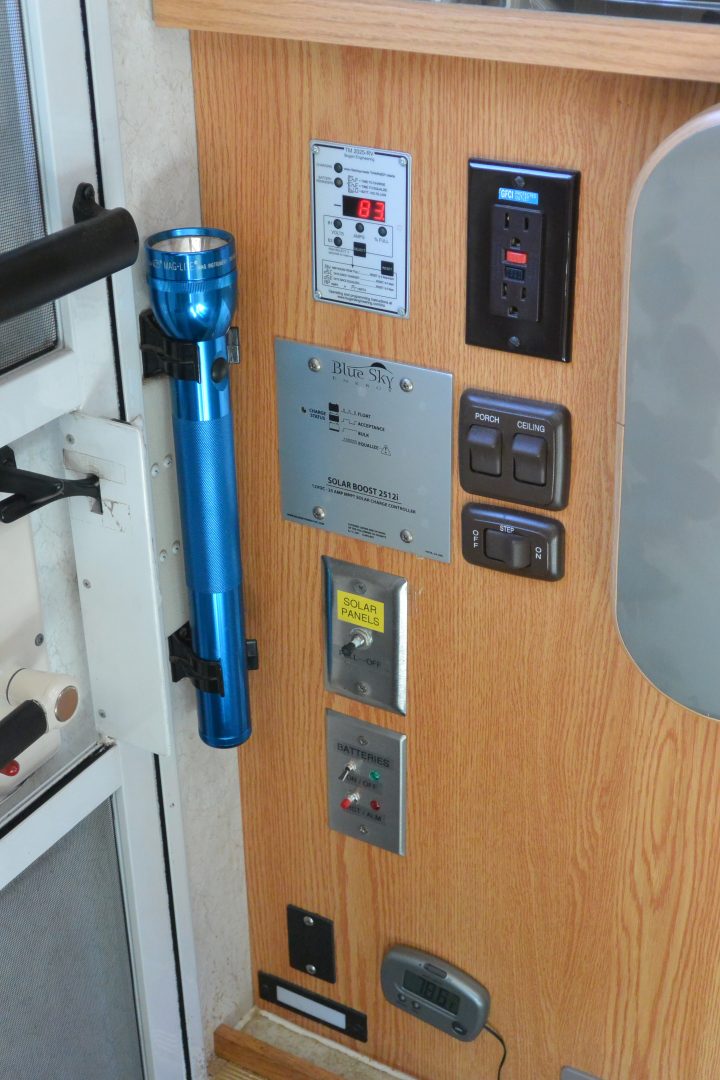
With each change and improvement, unfortunately my control and monitor panels were not all that uniform in style and format. What I have right now is a bit of a hodge-podge, functional but not very aesthetic. Is there yet another opportunity for an improvement, to consolidate this conglomeration and pretty it up? Of course.
Chassis Upgrades
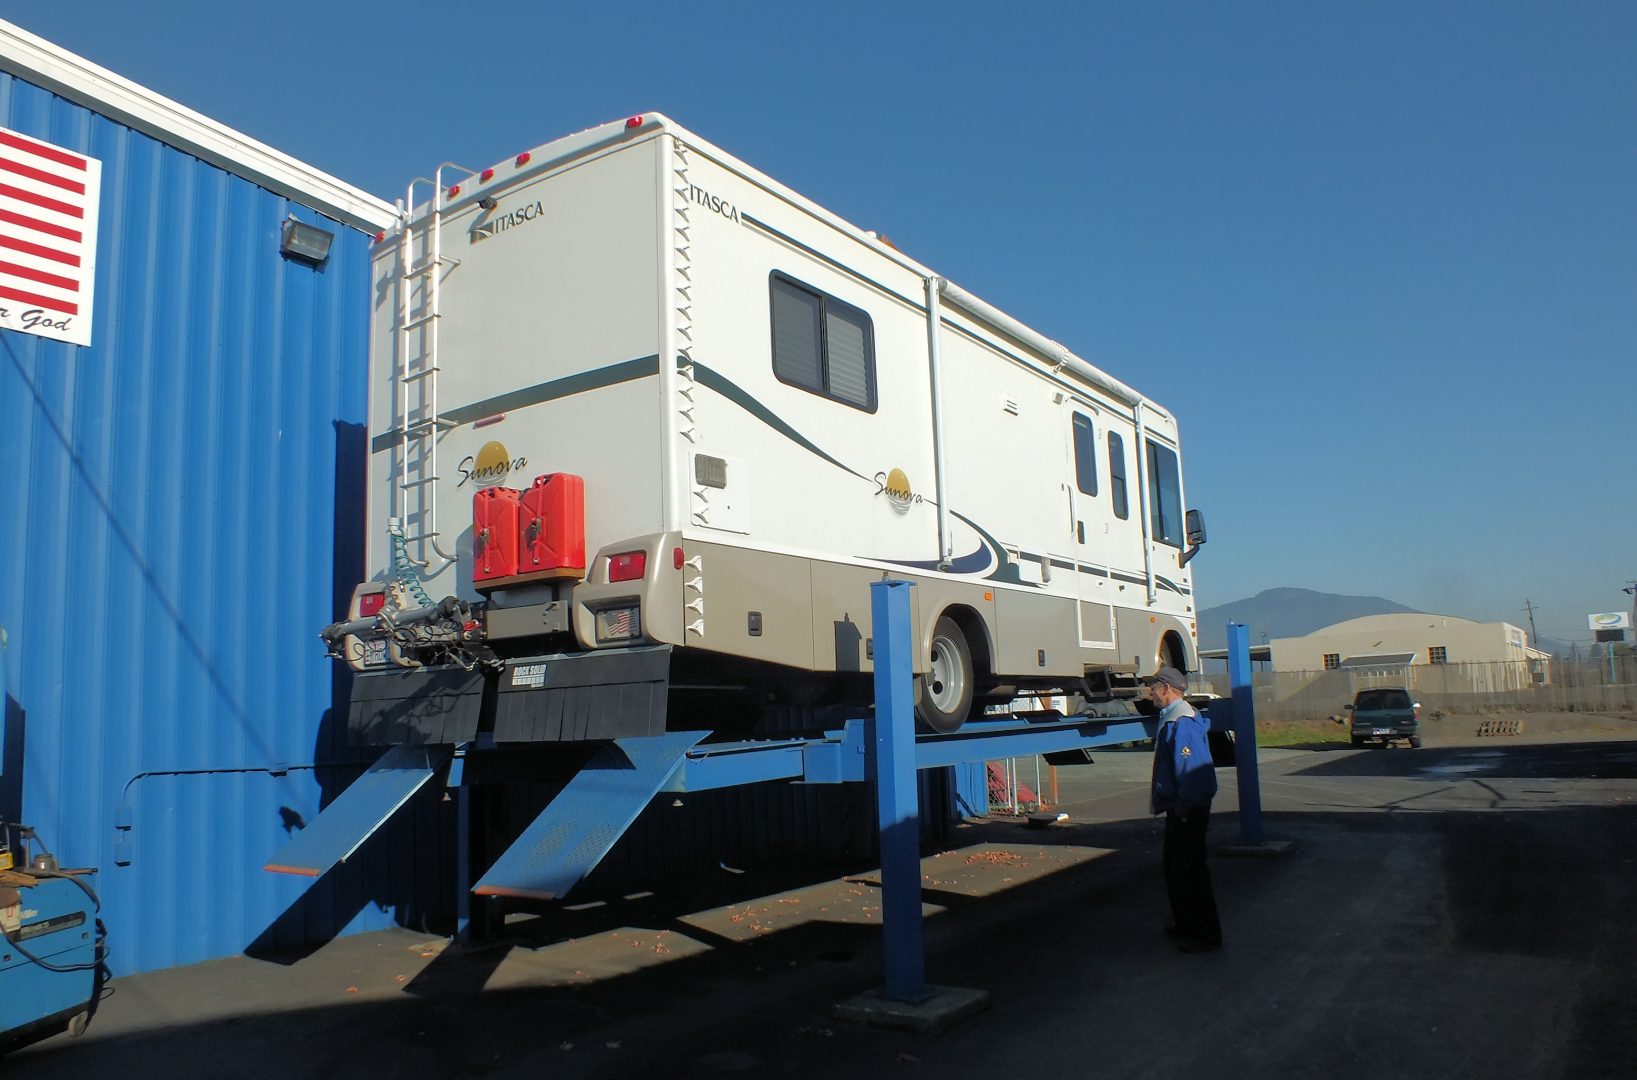
Although Winnebago-Itasca is a medium-quality motorhome, the Workhorse P32 chassis which is Howie’s foundation is in fact an evil-handling piece of crap. In the stock configuration, there was virtually nothing done right. From the get-go, Howie was a handful to even drive down the highway, let alone push through twisty steep mountain roads. Oversteer was rampant, due to excessive chassis and suspension flex, plus a short-ish wheelbase and long rear overhang.
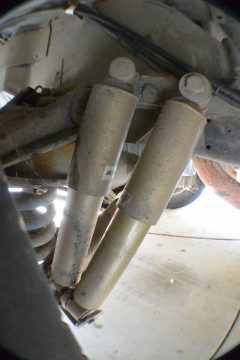
It took several years of fairly expensive mods, including chassis track bar, heavier sway bars, and double shock absorbers on all four corners. The last is virtually un-heard-of in motorhome circles, but it made a huge difference in ride quality.
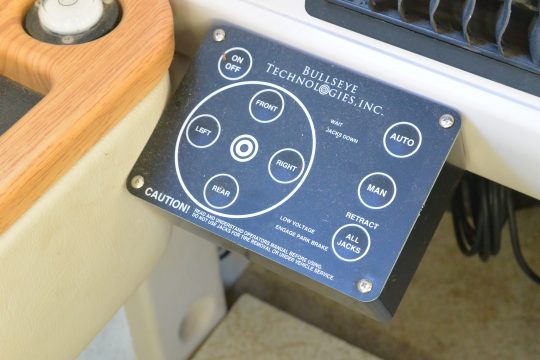
Howie came to us with built-in hydraulic leveling jacks, and they were barely satisfactory. Heavy, slow, and incredibly slow, we tolerated them for several years. Eventually, the poor (after-market) installation resulted in hydraulic hoses nearly burned-through by the exhaust piping. I ripped out the entire affair and replaced it with lightweight, fluid-free electric jacks. Retraction time went from 15-20 minutes to 1 minute. Nice change.
Electrical System Re-Do
One of the things we noticed early on was how much we hated generators. Noisy, smelly, obnoxious. We avoid running ours, to the extent that we put only seven hours on it in six years. The other thing about Howie’s design was that the rear-mounted generator would gather tons of dust when we drove on dirt roads, requiring lengthy and filthy cleaning with compressed air. A very poor installation design. And it was firmly mounted to Howie’s chassis, right underneath our bed. Noise, vibration.
 We came to realize that the only thing we needed the generator for was to run the microwave and air conditioner (and of course to help charge batteries).
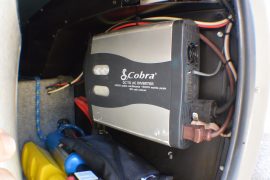
The microwave was taken off the list by incorporating a 2500W power inverter into the 12V system. Our air conditioner was almost never used, and after some years we realized why: we hated the noise of the A/C and generator running, and if it was that hot, well, it was time to change camp sites.
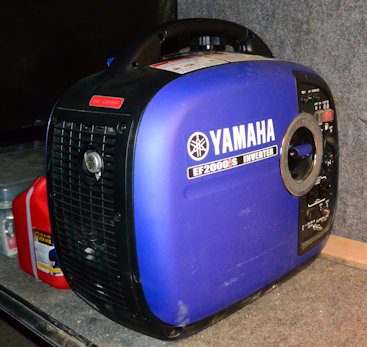
Eventually, we got rid of the stock A/C unit and the stock 4KW generator. We replaced the generator with a small portable 2000W unit which is more than adequate to charge batteries and run all the 120VAC stuff if we need it. It’s much quieter, lighter, and uses less fuel – – an all-round win.
Air Conditioning
It nagged at us – – – never having ANY air conditioning seemed like sort of okay, and we had already gone to Alaska and back without it, no issues. But just-in-case, wouldn’t it be nice to have something to cool off a little in an “emergency” ? We thought about a portable unit, but those don’t work well in an RV environment, and it would still need the generator to be running.
Enter the Turbokool, an RV-specific evaporative air conditioner. It runs on water and a small draw on the 12V battery system. No generator needed at all.
Yeah, it has limits in high-humidity areas – – but that’s probably time to move camp again. In reasonable humidity (50%RH or less), all it needs is a few amps and a gallon or two of water to drop the cabin temperature by 15-20F. Not to mention it’s 100 pounds lighter than a typical RV roof A/C.
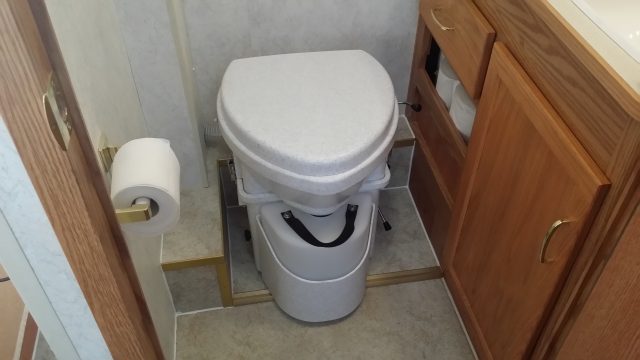
Composting Toilet
Nearly every RV on the road comes with a flush-toilet that empties into a “black water” holding tank. Truth be told, the water is quite brown in general. But never mind – – over five years of part-time travel, we’ve probably dumped out more than 2,000 gallons of really noxious sewage. And a large part of that sewage consisted of fresh water from our precious holding tank. We needed a way to reduce water usage, and maybe even eliminate the requirement to deal with sewage. In 2014, we discovered the self-contained composting toilet.
Looks like a toilet, acts like a toilet – – but uses no water and does NOT produce obnoxious sewage.
There are volumes written on the technology and usage guidelines, and one of the best is this series of posts from the Wynns. But suffice it here to say, it’s a definite step up from a flush toilet. Very little maintenance, no water usage, no sewage whatsoever, no smell/stink whatsoever. We are total converts.
Plumbing Re-Do
This area is pretty far toward geek city, so I’ll spare a lot of the details. Firstly, the stock plumbing setup was a rat’s nest of un-serviceable tangled and twisted piping. Since we were always filling our tanks and then operating in boondock style, we didn’t need city water service or any of the complexity of it. I ripped out a lot of un-needed piping and made the whole mess more accessible.
The existing fresh water tank had an absurd venting system that would dump 1/3 of our water overboard on any twisting road. Absolutely ridiculous. I re-designed the venting system and cleaned up the whole affair.
After the venting re-design, I had a left-over fitting on the tank, and put it to use for a return line. I ran the return line to the shower stall, so that we could put all the wasted cold water (from waiting for hot water) back into the tank. I’m still waiting for some special stainless-steel screening material to fill the opening for a nice trim, finished look.
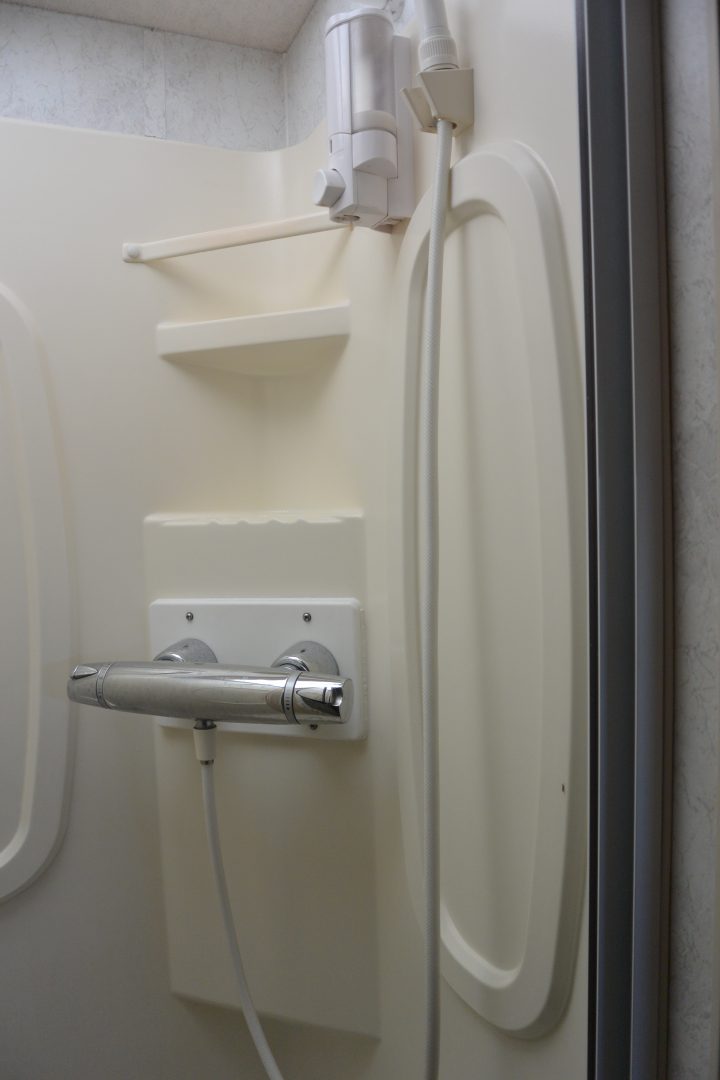
The shower also got a major upgrade in the form of a thermostatically-controlled shower valve. This valve maintains a constant temperature regardless of inlet water temperature, so (again) no more wasted water while fiddling with valves to adjust the temperature. One knob for flow, one knob for temperature, set it and forget it. Elegant.
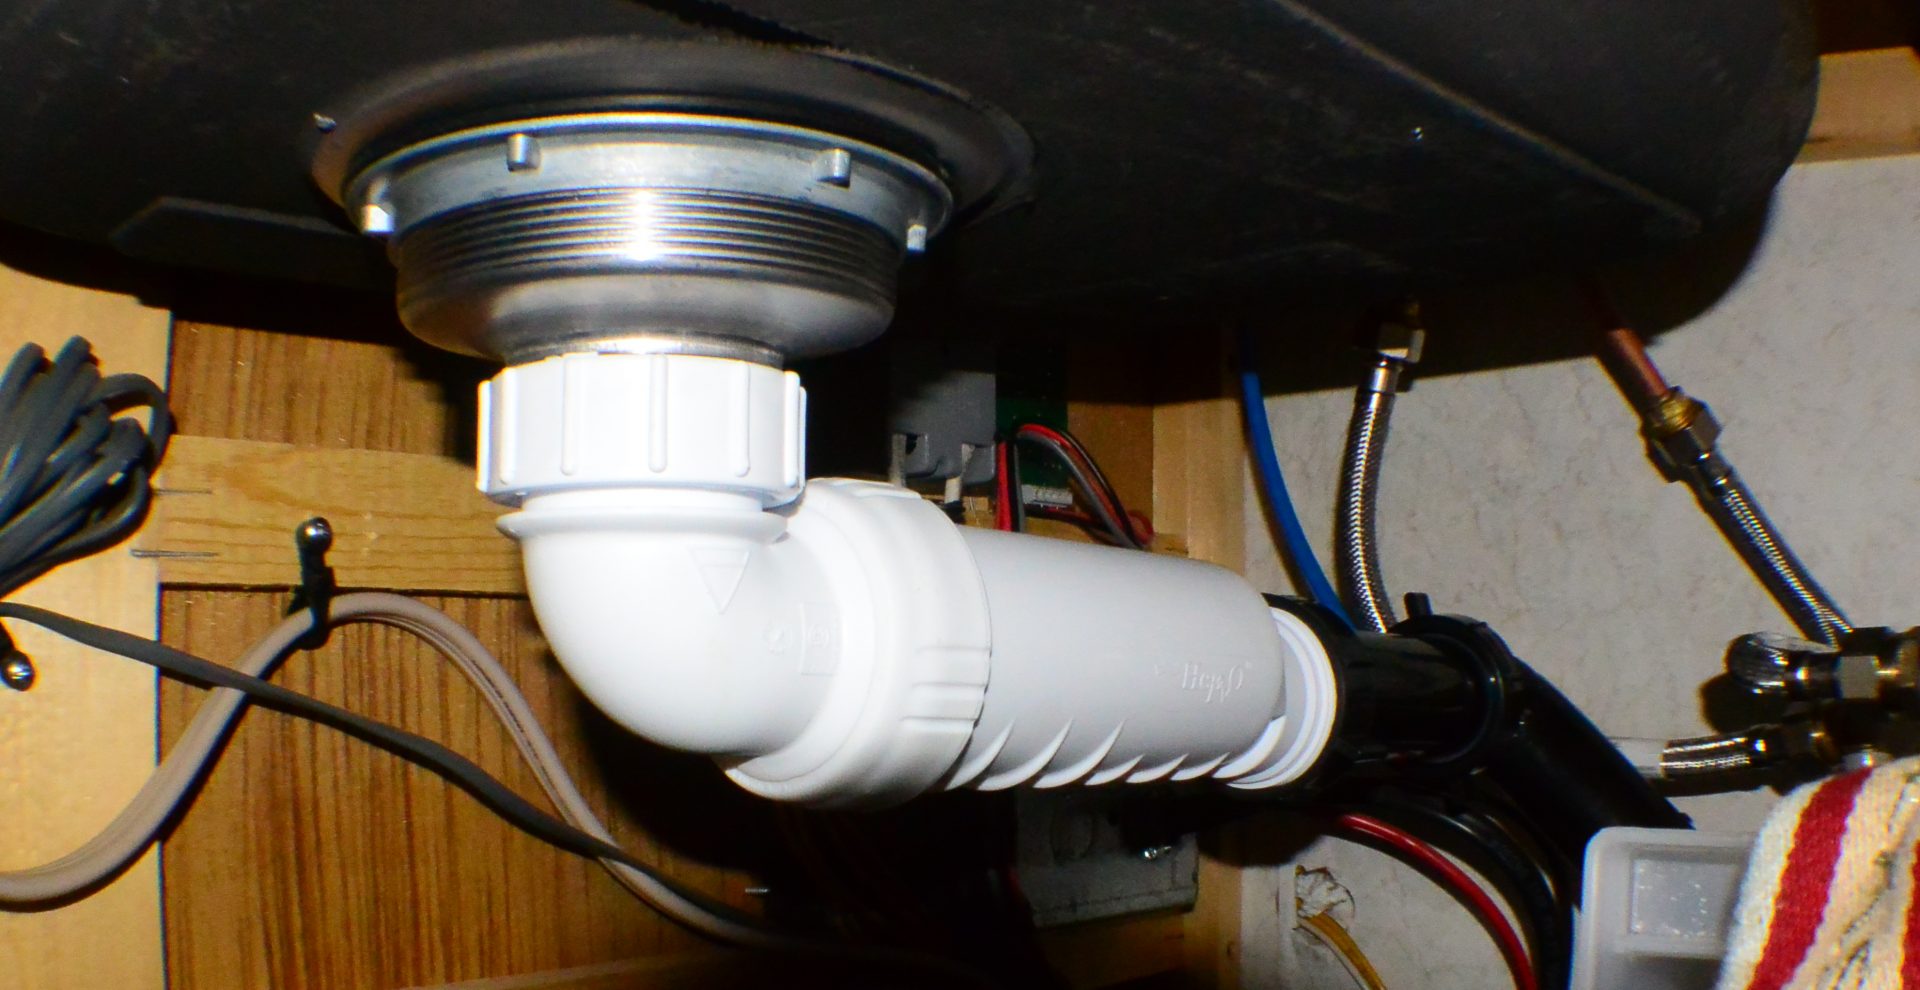
All the sinks have received “waterless” traps, clever silicone-rubber flapper valves that eliminate the standing water in a regular P-trap, and its attendant gunk and residue.
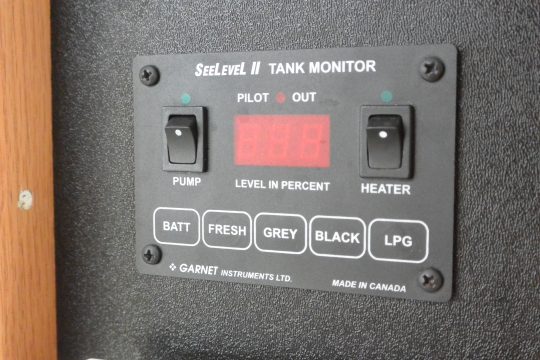
All the tanks have been changed over to digital-sender-display technology so that we always know (by percentage) how full the gray/fresh/black tanks are. Propane too.
Interior Remodel
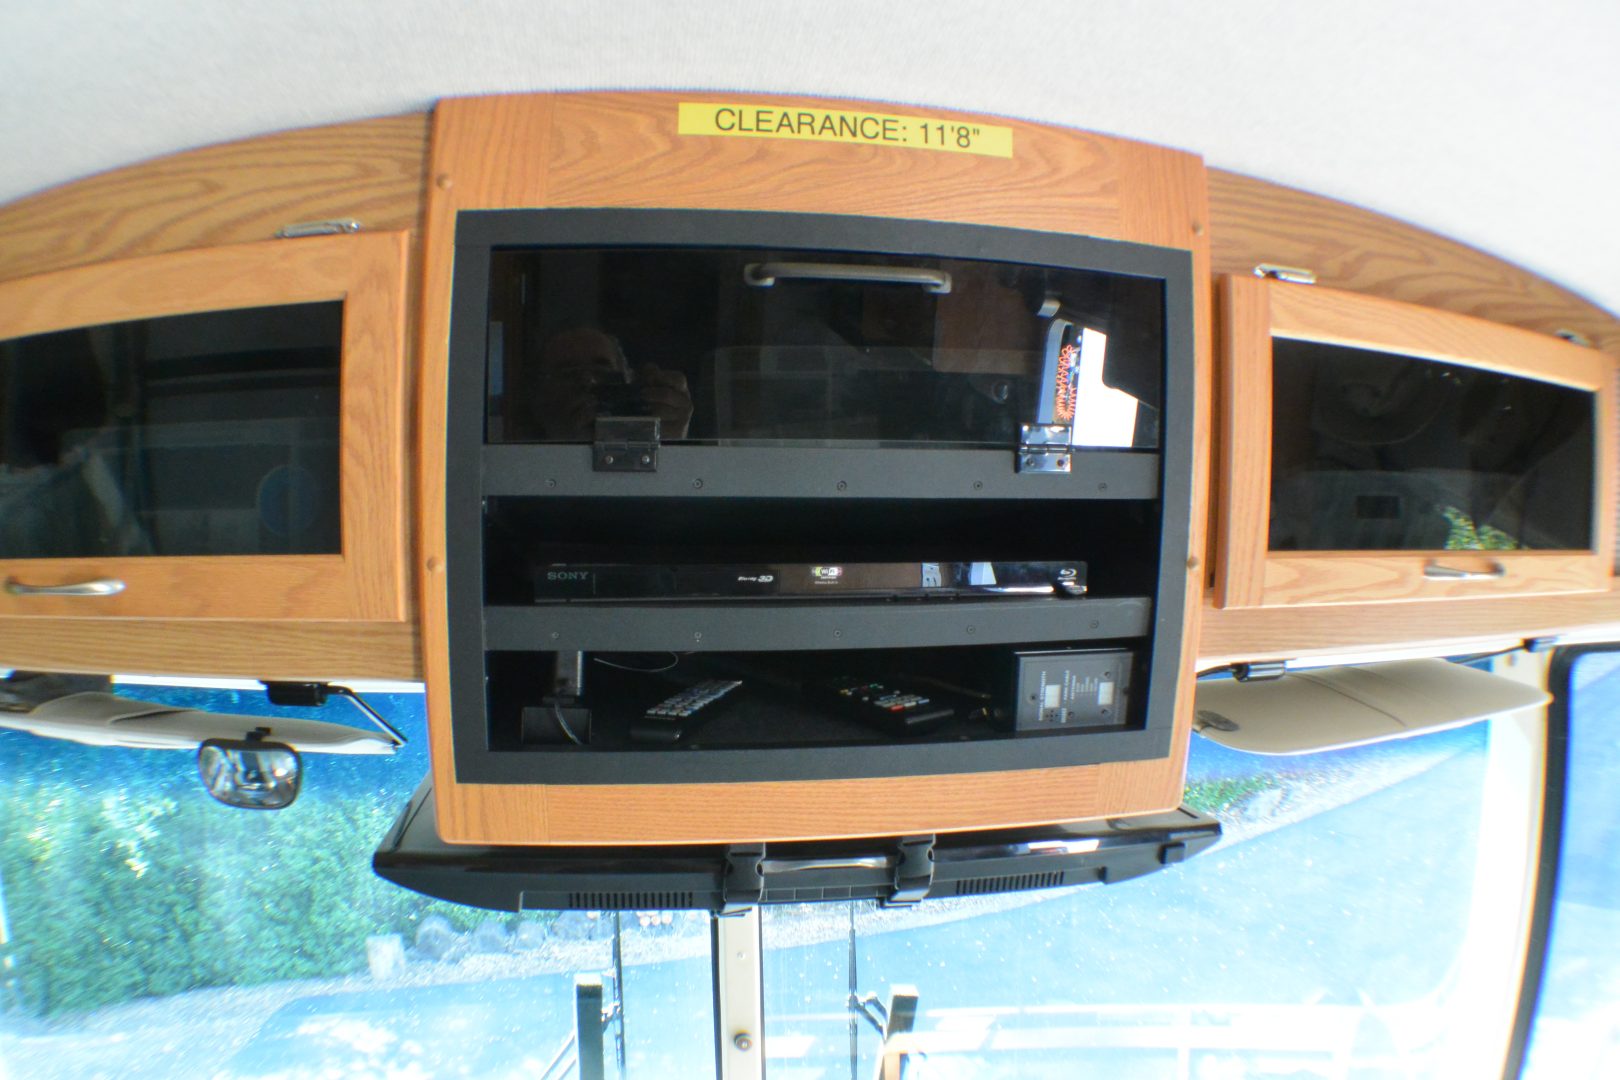
Early on, the ancient tube-style TV got replaced by a flat-screen. But the viewing position was neck-breaking, and the next year we totally re-worked the front cab overhead and installed a drop-down 32″ TV which we could comfortably watch from the captain’s chairs.
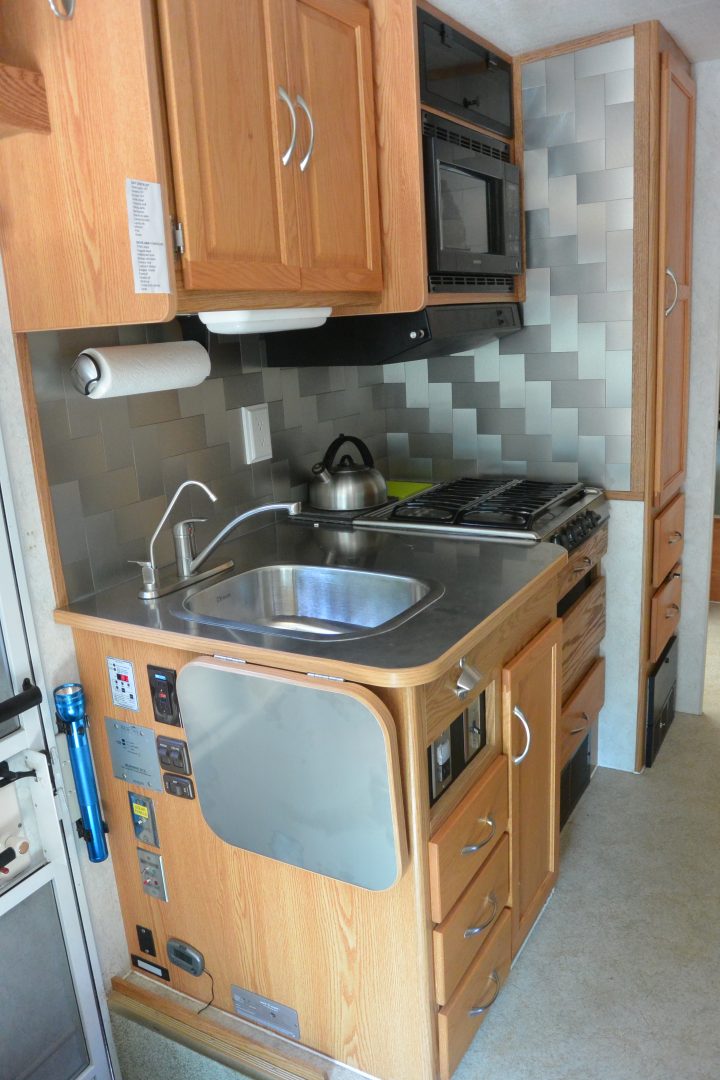
The ratty, disgusting old carpeting was removed and replaced with tough vinyl sheeting (we paid an installer for that miserable job). Then, after years of aging and dated decor, 2016’s long summer provided us with the time to do a major make-over on the galley, dinette, and window coverings. By the standards of previous projects, this one was less expensive and far more labor-intensive. Calendar-wise, we’ve spent over two months going through the design, selection, construction, etc. Karin and I did all the labor except for the upholstery work.
Full-stainless-steel galley conversion including counter, sink, faucets, backsplash.
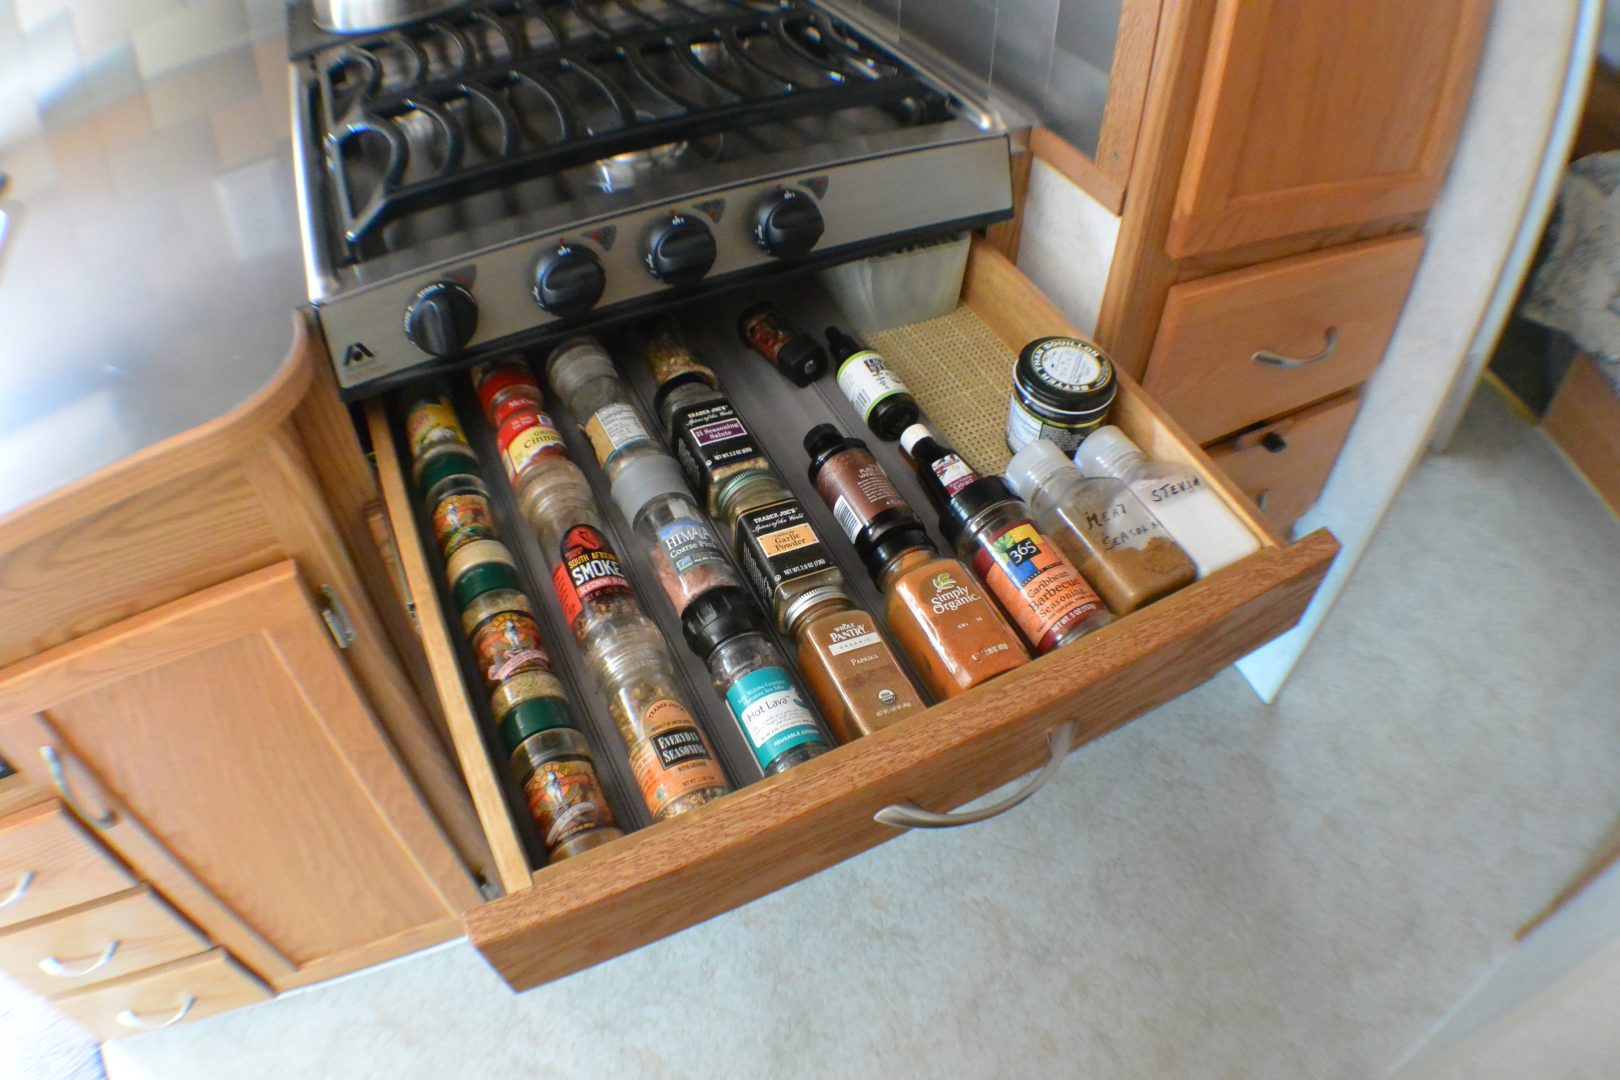
Converted the little-used oven to storage space with a built-from-scratch spice-drawer. Huge pots-and-pans area underneath.
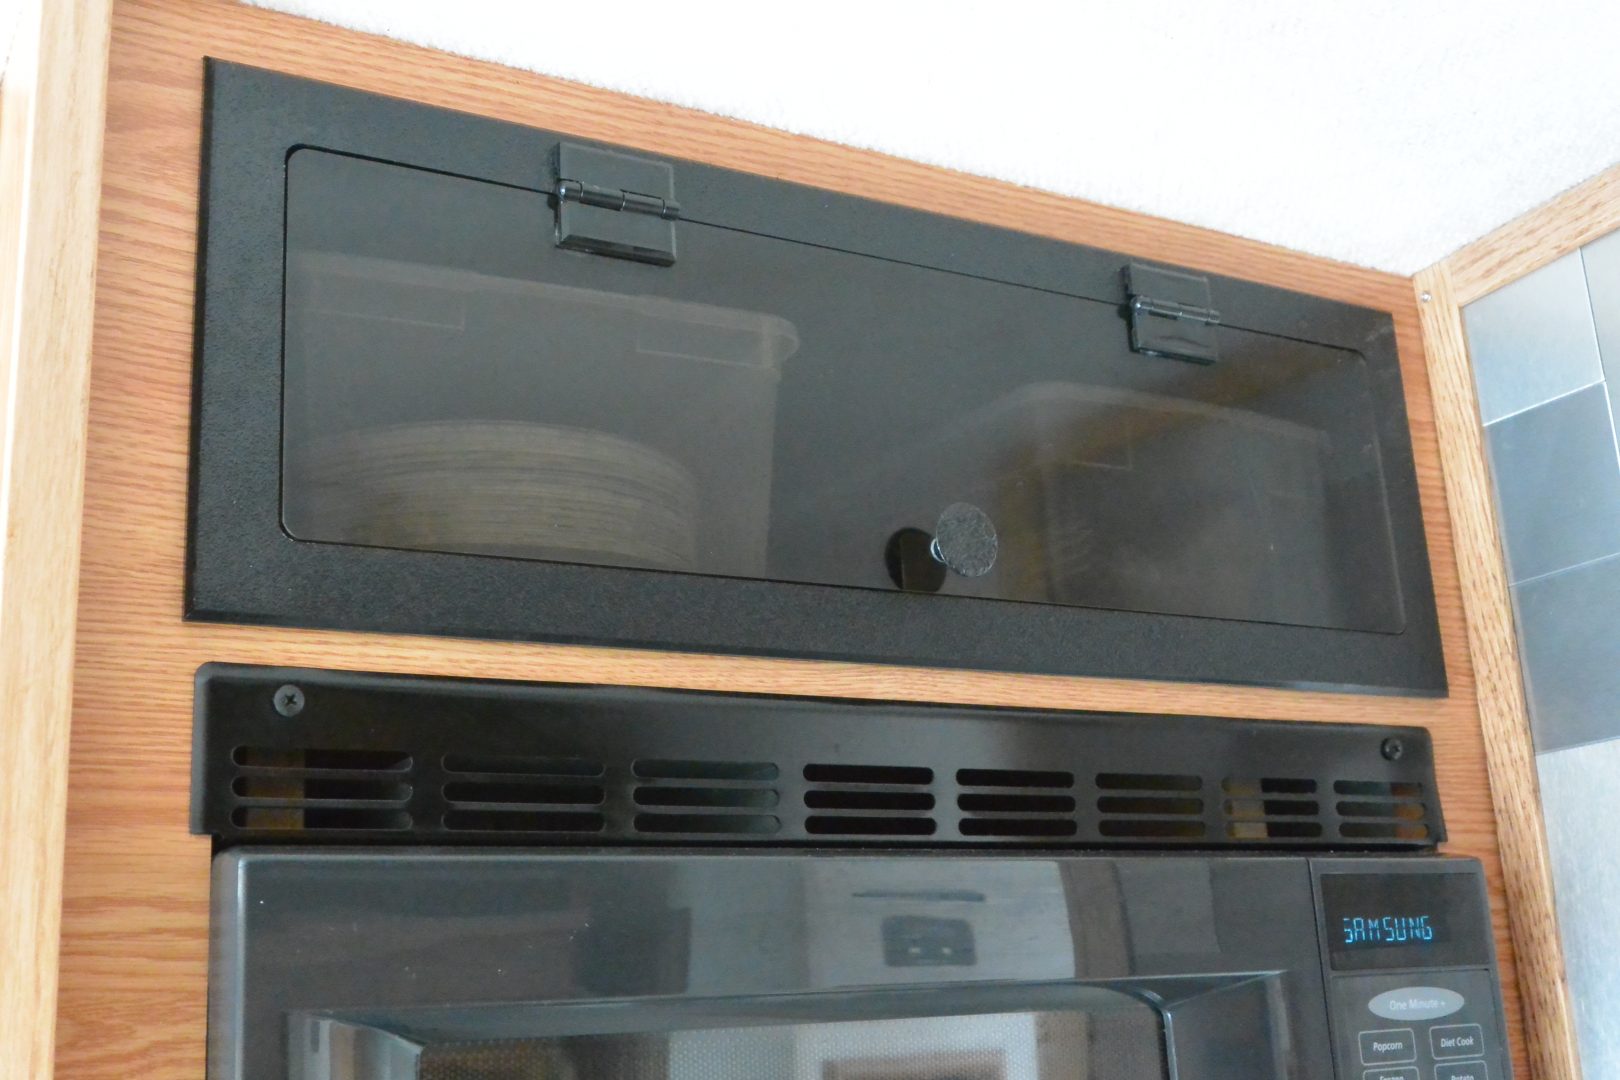
Converted unused space above the microwave to more storage space.
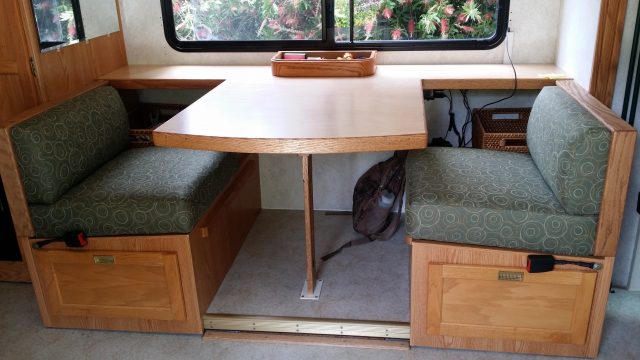
MAJOR re-design of the dinette are. We never used the bed function, and it was always way too crowded for any (rare) need to sit four people – – so we re-designed it for two-only functionality, with a LOT more table and storage space. Added self-retracting seat belts while we were at it.
Doo-Dads
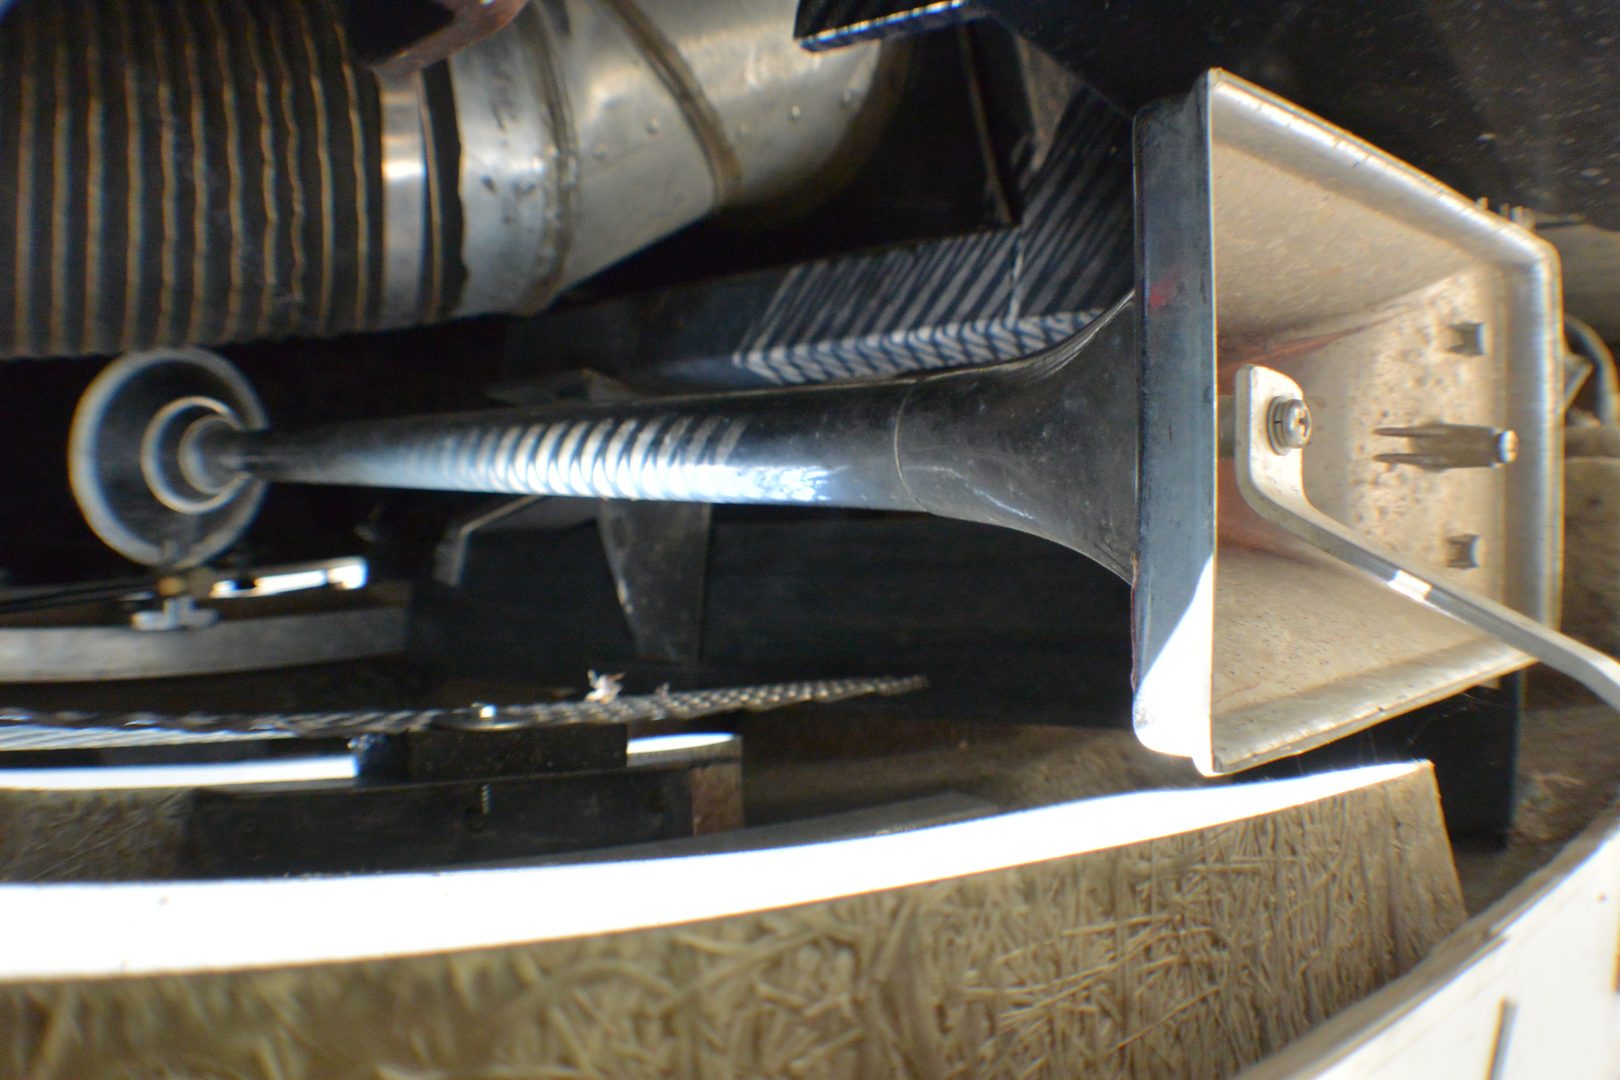
I just couldn’t bring myself to drive a 7-ton vehicle without some serious “hornage”. A pair of massive 18-wheeler-style 36″ air horns were an early mod, along with a beefy 150psi compressor and accumulator tank to run them. The compressor, and a tire-plug kit, also give me the capability for basic flat-tire repair on the road.
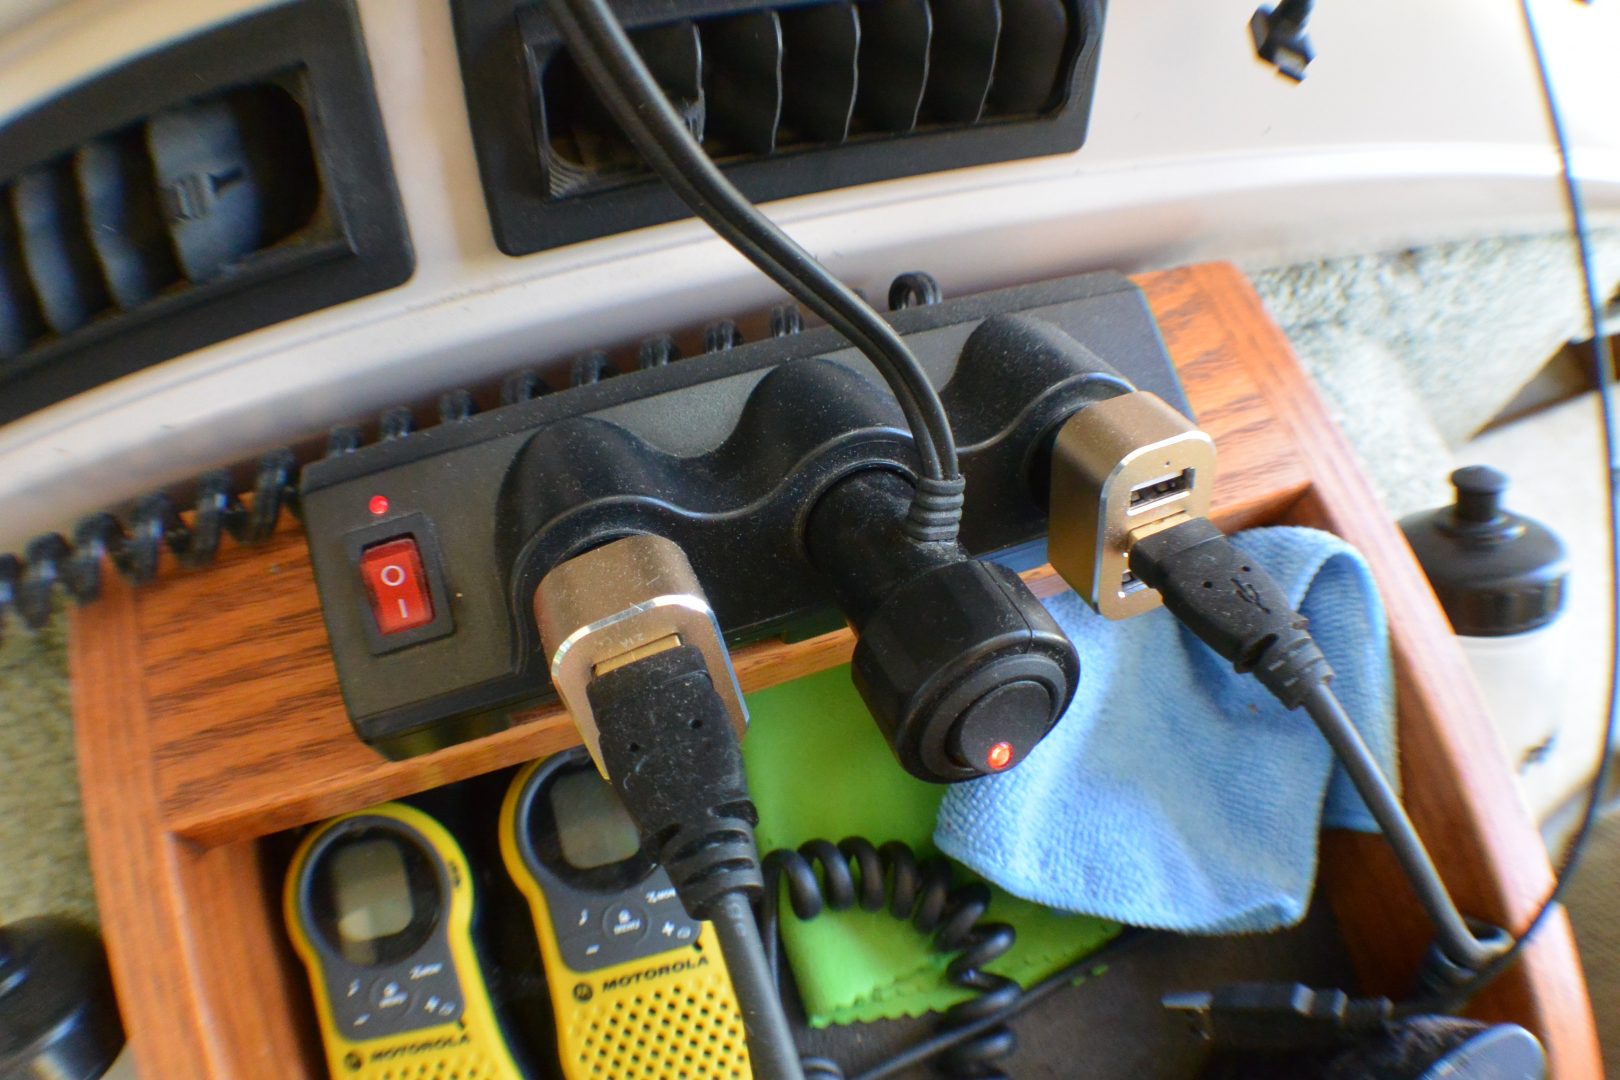
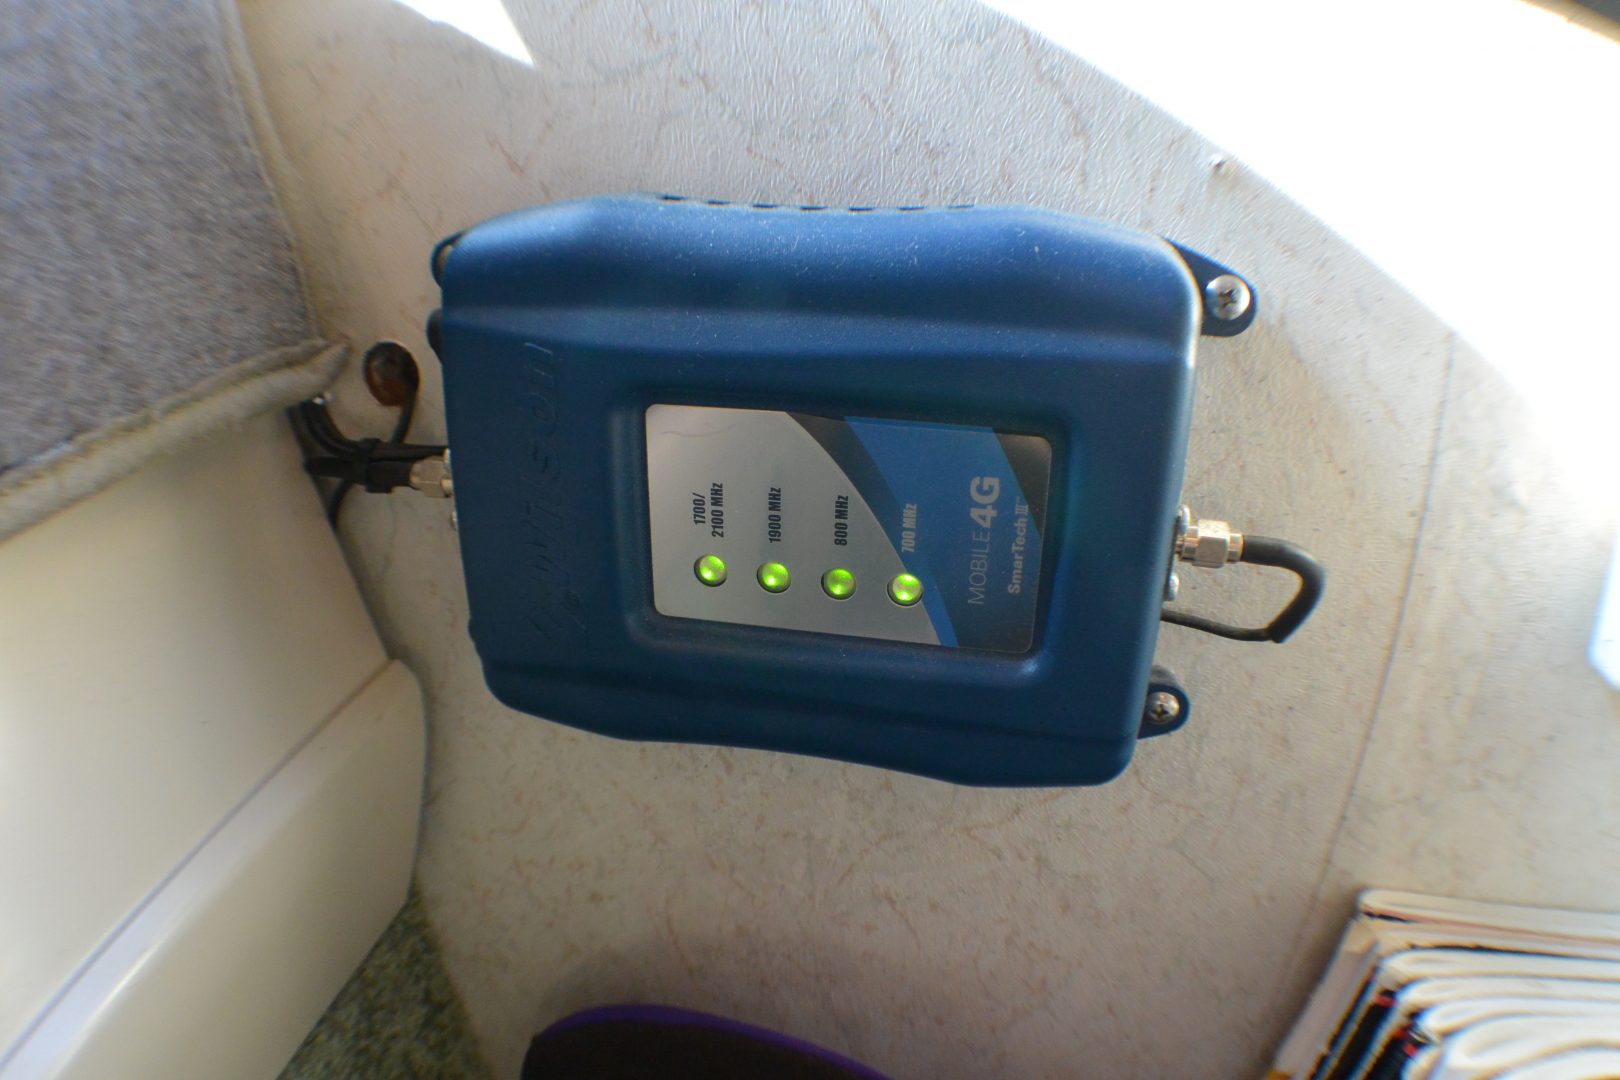
We’re not totally Internet junkies (really), but we do enjoy our email, news, and connectivity with friends. This all results in a panoply of smart phones, tablets, and computers that we bring along, and which need to be kept charged and linked into either wifi or 3G/4G space. Howie is literally festooned with charging sockets and stations, plus state-of-the-art signal boosters and wifi-hotspot devices. If there’s a signal out there, we’re going to be able to hook up to it. (Or, sometimes, we just take a hike.)
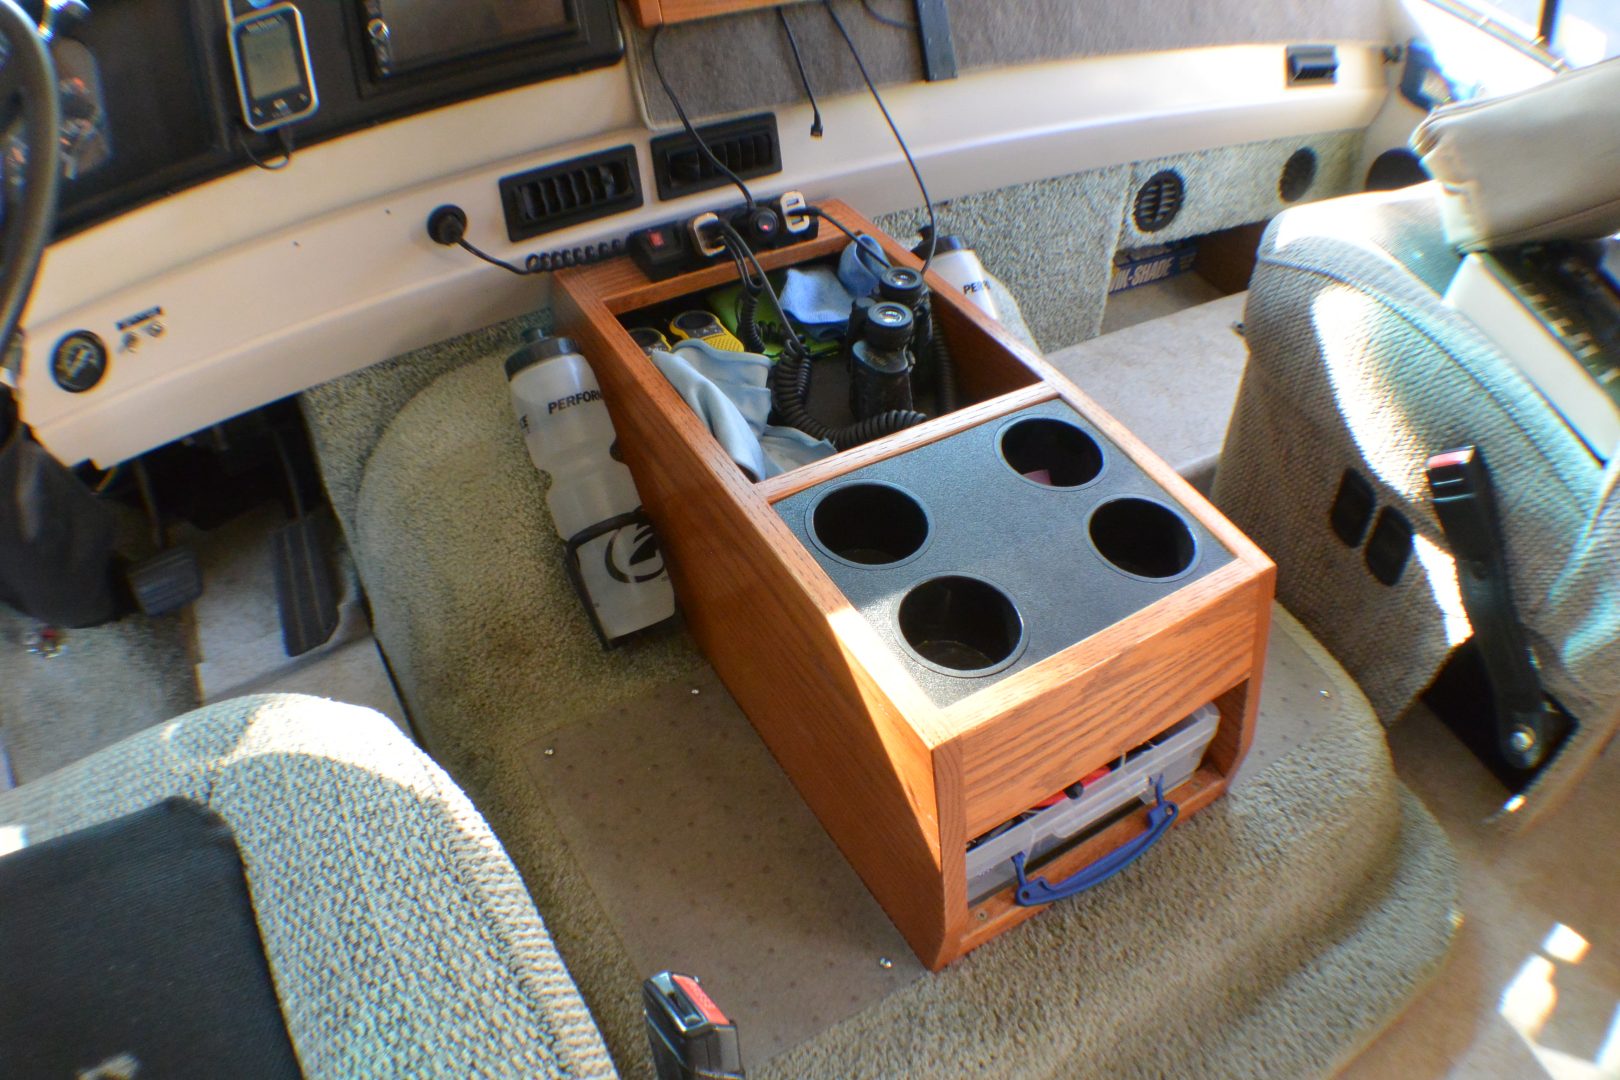
The stock plastic piece-of-crap “console” on the engine hump was replaced with a solid-oak CONSOLE (yeah!) that is really capable, sturdy and useful, plus good-looking.
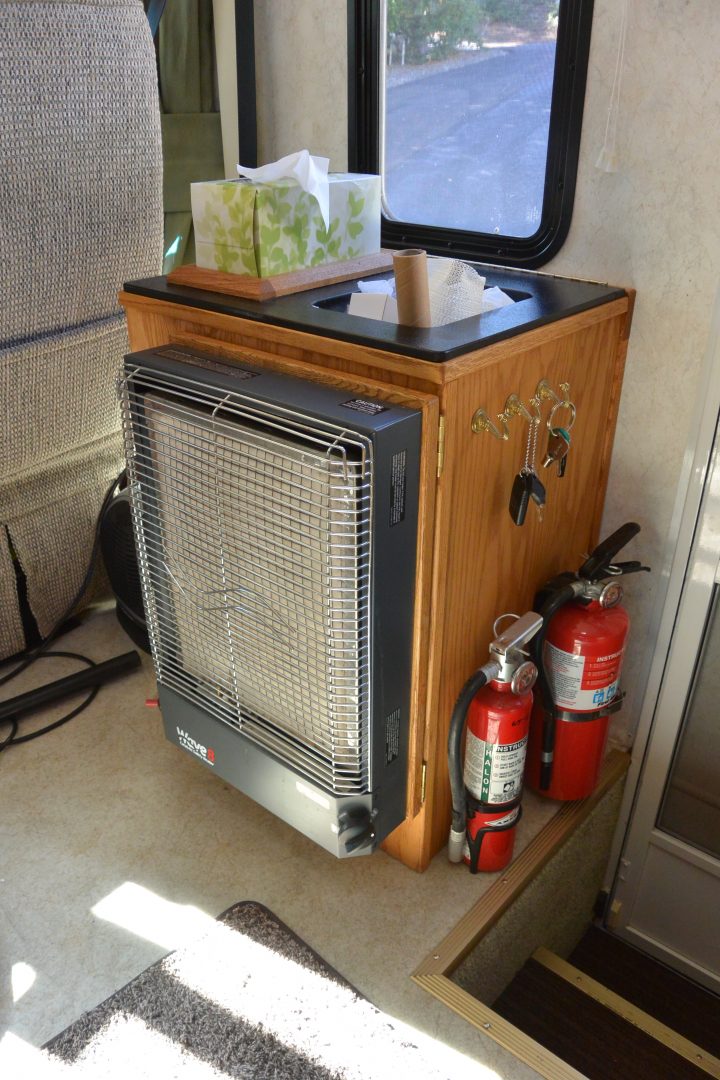
To reduce the use of the cabin heater (noisy, inefficient), we added a catalytic heater (quiet, 100% efficient) and mounted it to a custom oak cabinet which also serves as a storage and trash container. Nice place to park the fire extinguishers too (one is Halon, one is white-powder).
RALPH
Ralph lives a life of extreme contrast and conflict. When he’s being towed behind Howie, we want him to be invisible – – weightless, unseen and un-felt. But when we’re out 30 miles into a remote desert or mountain pass, we want him to be invincible, powerful, and well-equipped with spares, survival gear, and so forth. We need him to creep along at 0.5mph over razor-sharp rocks, and then turn onto the highway and smoothly buzz along at 70mph to take us back to Howie.
Because of this duplicity, I’m fighting a constant battle between weight and equipment, with the result that some projects were undertaken to reduce weight in order to make more room for essentials. Here’s a quick summary of places I’ve meddled:
- Off-Road Capability
- Set Up for Towing
- Weight Reduction
- Spares and Survival
- Recovery
4X4 – – The most important element of Ralph’s off-road capability (4WD) was built-in – – but poorly. The front axle hubs and transfer case shifter were prone to failure (three times on my watch). They were replaced with rugged, manual controls that simply work.
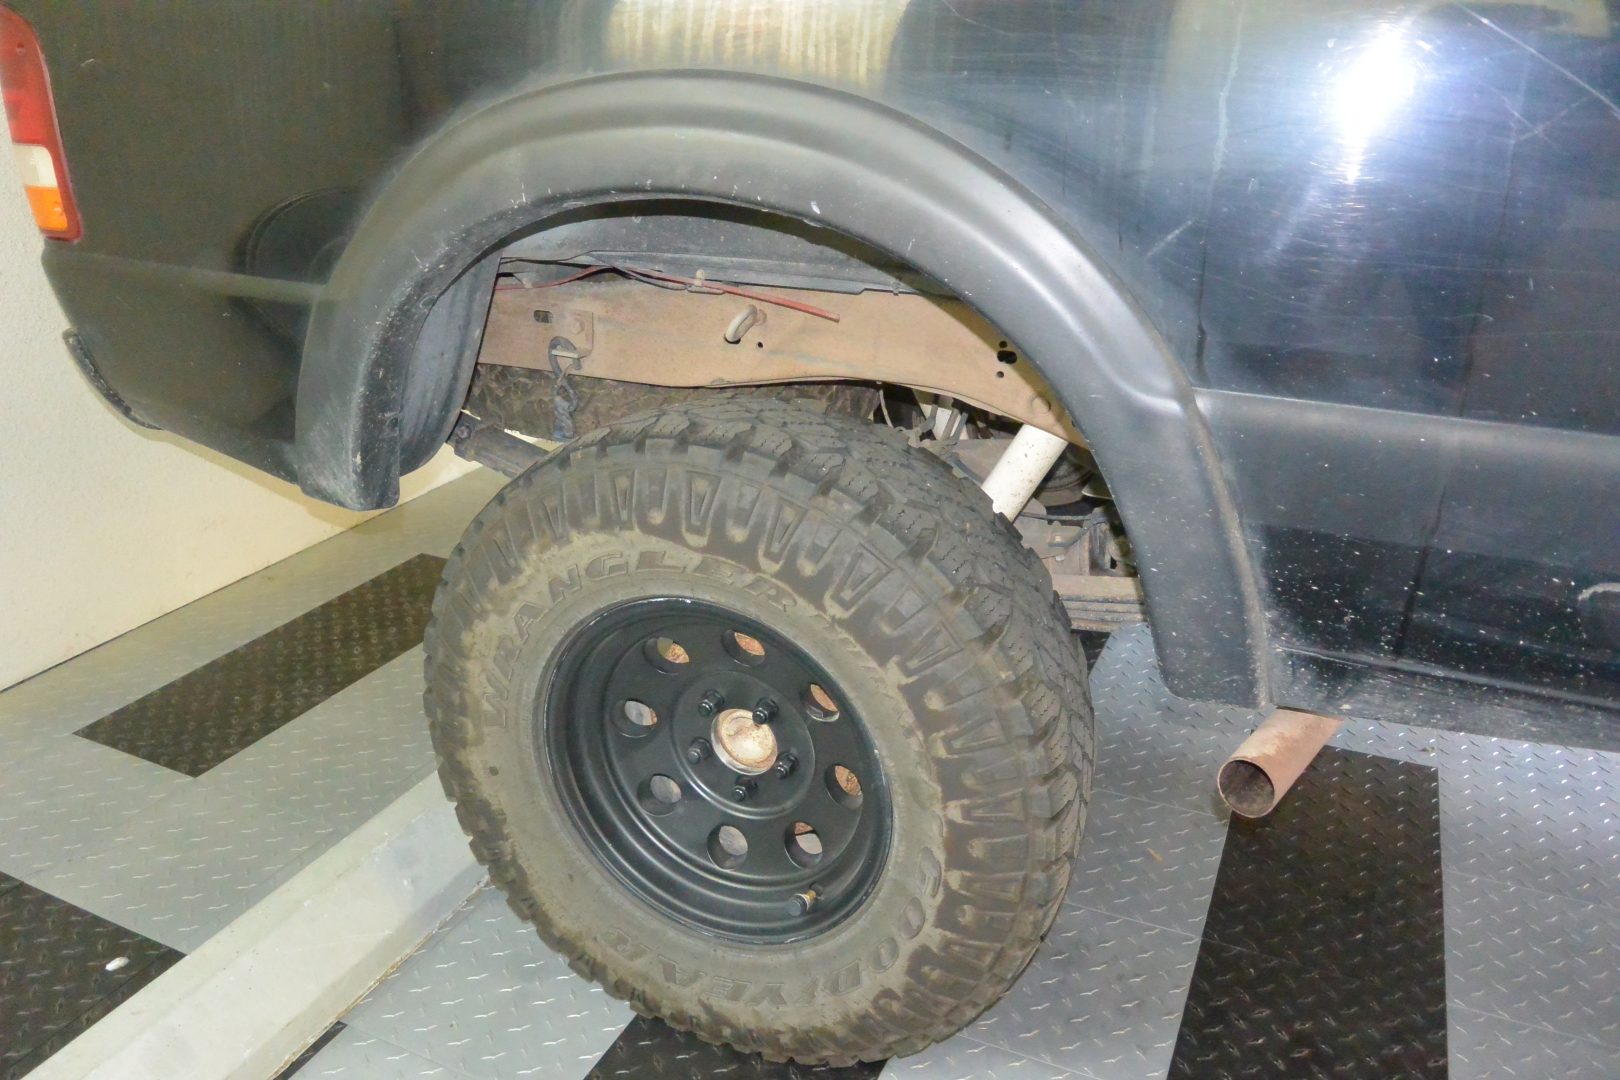
Second in importance was a LOT of ground clearance to get over rugged and rocky roads, and some aggressive, large tires to get us over loose and slippery surfaces. Ralph is lifted about 5.5″ from stock, and runs 31″ Goodyear Dura-tracs, a lovely tire if ever there was one. Smooth and quiet, but with a great bite in gravel, dirt, snow, and mud. Ralph’s belly clearance is over 18″, which helps compensate for his long-ish wheelbase when traversing truly lumpy terrain.
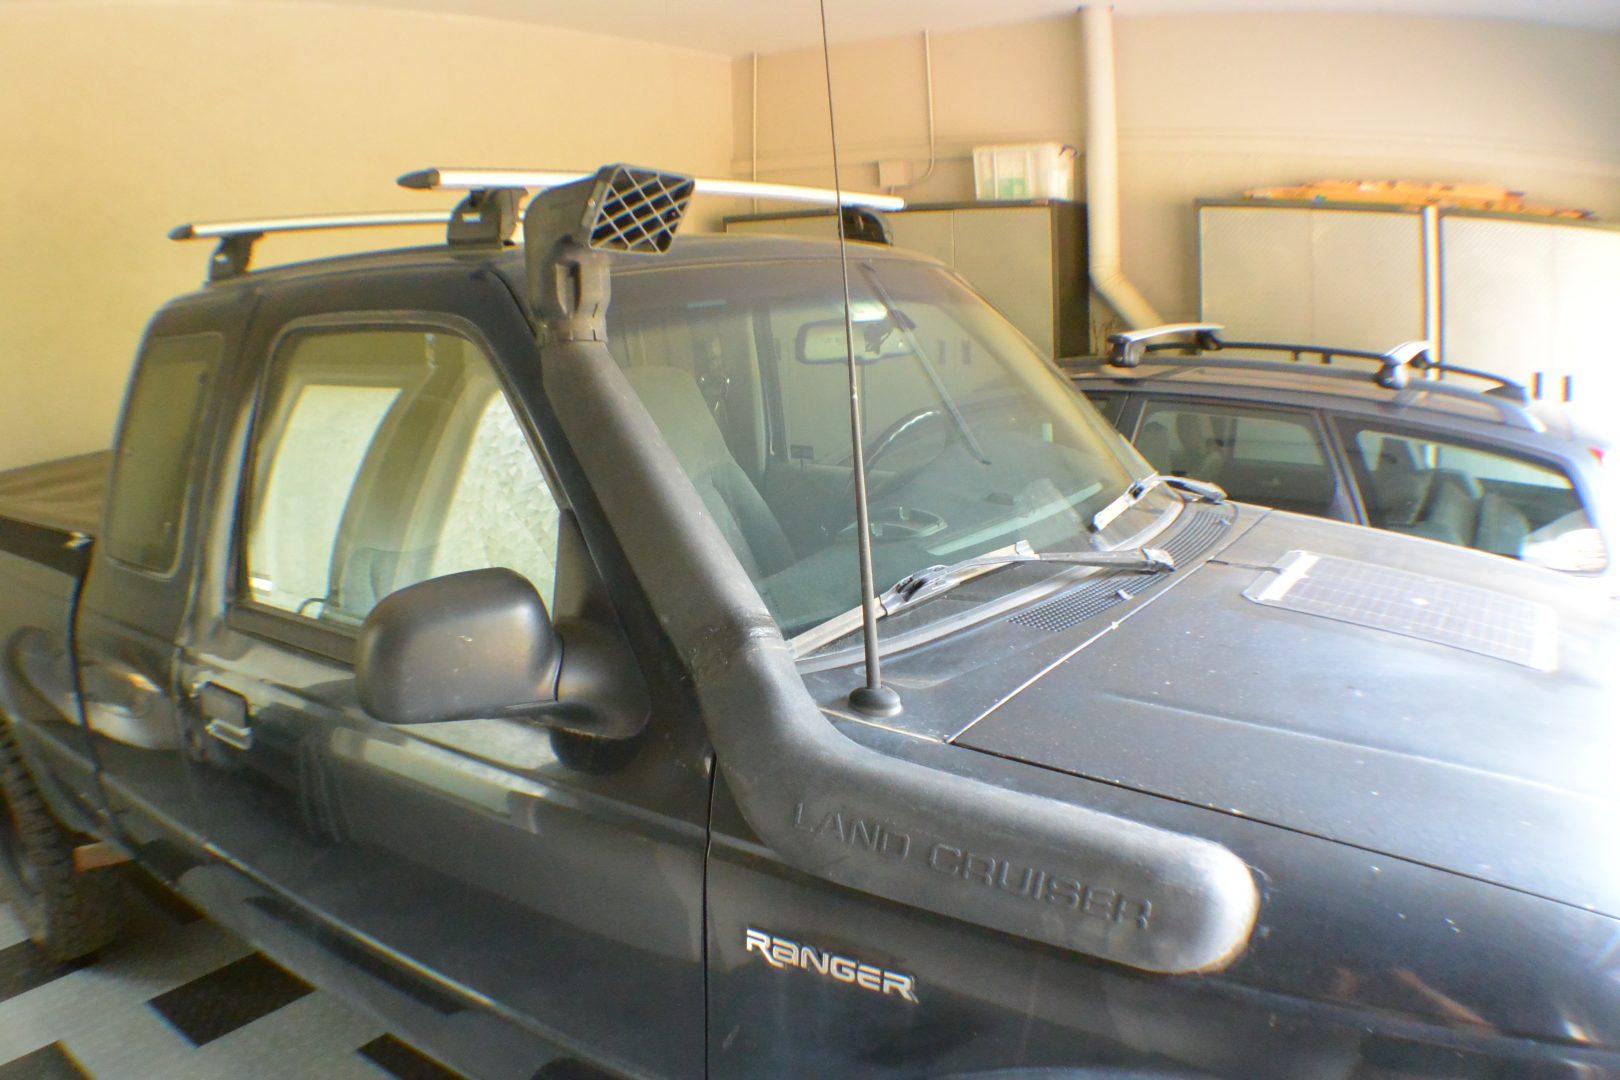
After filling up the engine airbox/intake with dirt and mud a couple of times, I had to engineer a serious solution. Turned out that a “snorkel” from a 1980 Land Cruiser was an almost good-fit (‘almost’ means three days of cutting and splicing various materials for an air-tight routing). This setup really keeps grunge out of the intake passages, plus it’s SO bad-ass looking I can barely stand it.
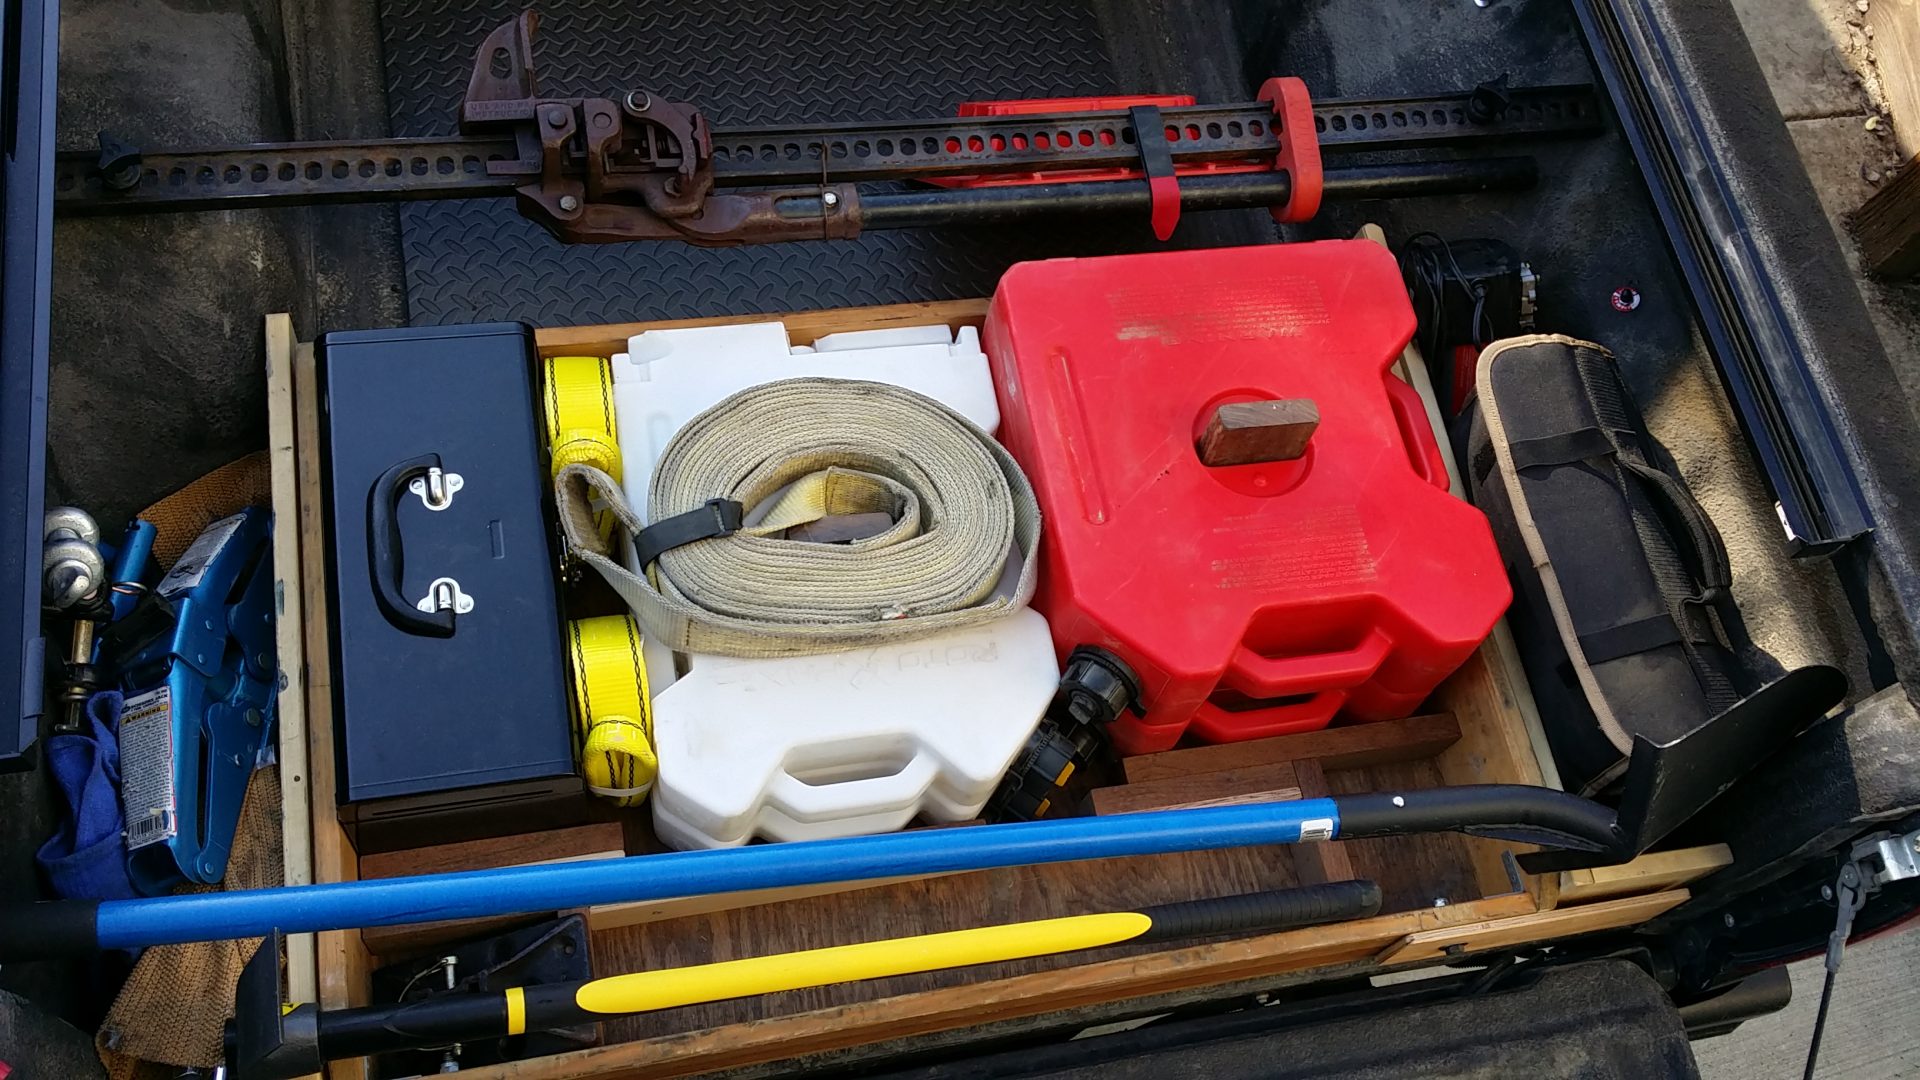
Recovery is pretty important in an off-road vehicle. I used to call Ralph our “go anywhere” vehicle, and after some lonely experiences and minor breakdowns, I now refer to him (pointedly) as our “go anywhere AND get back” vehicle. I hope he gets the point. So far, so good. Originally, all of our recovery gear fit nicely near the rear tailgate – – –
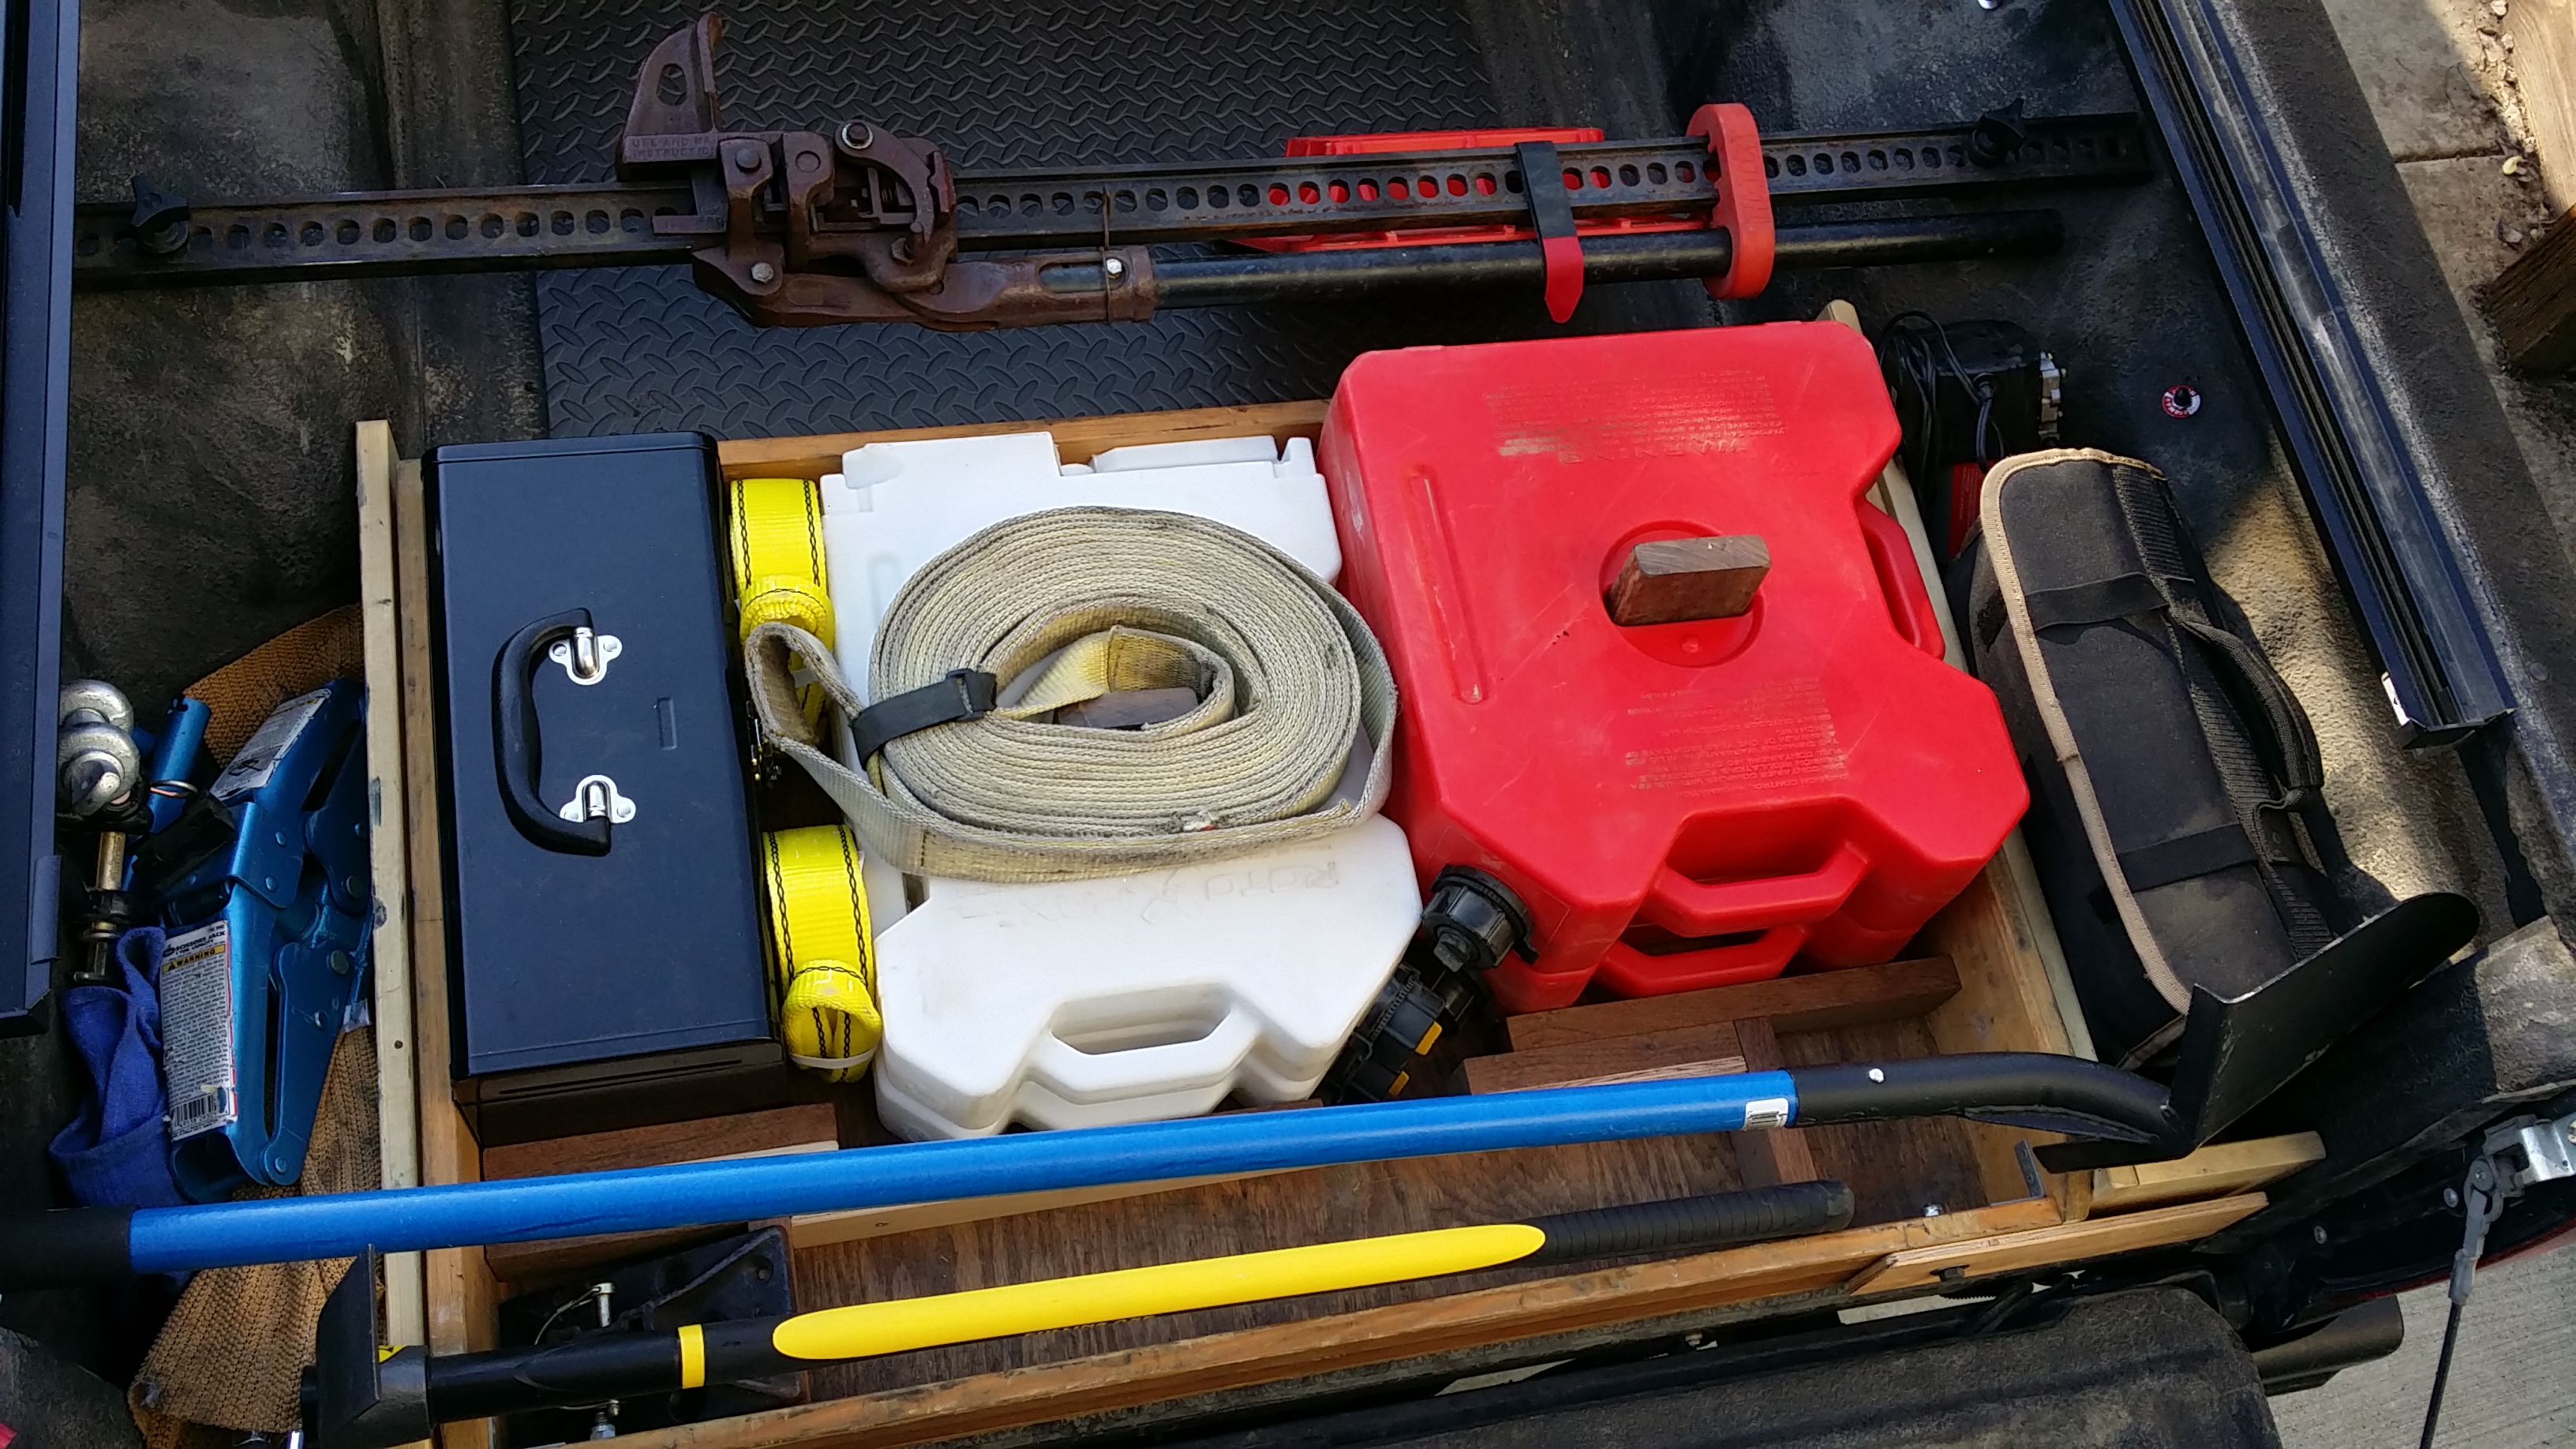
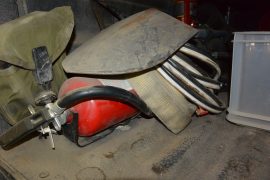
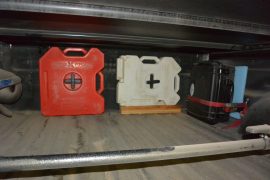
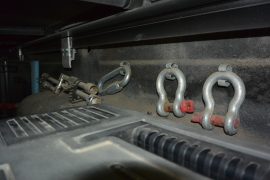
But it wasn’t very convenient to carry anything else, so things gradually migrated out to the sides and edges of the bed. Easy access is now available to shovels, tow straps, shackles, spare water and gas, a high pressure air pump, a full set of tools, and a few other odds and ends.
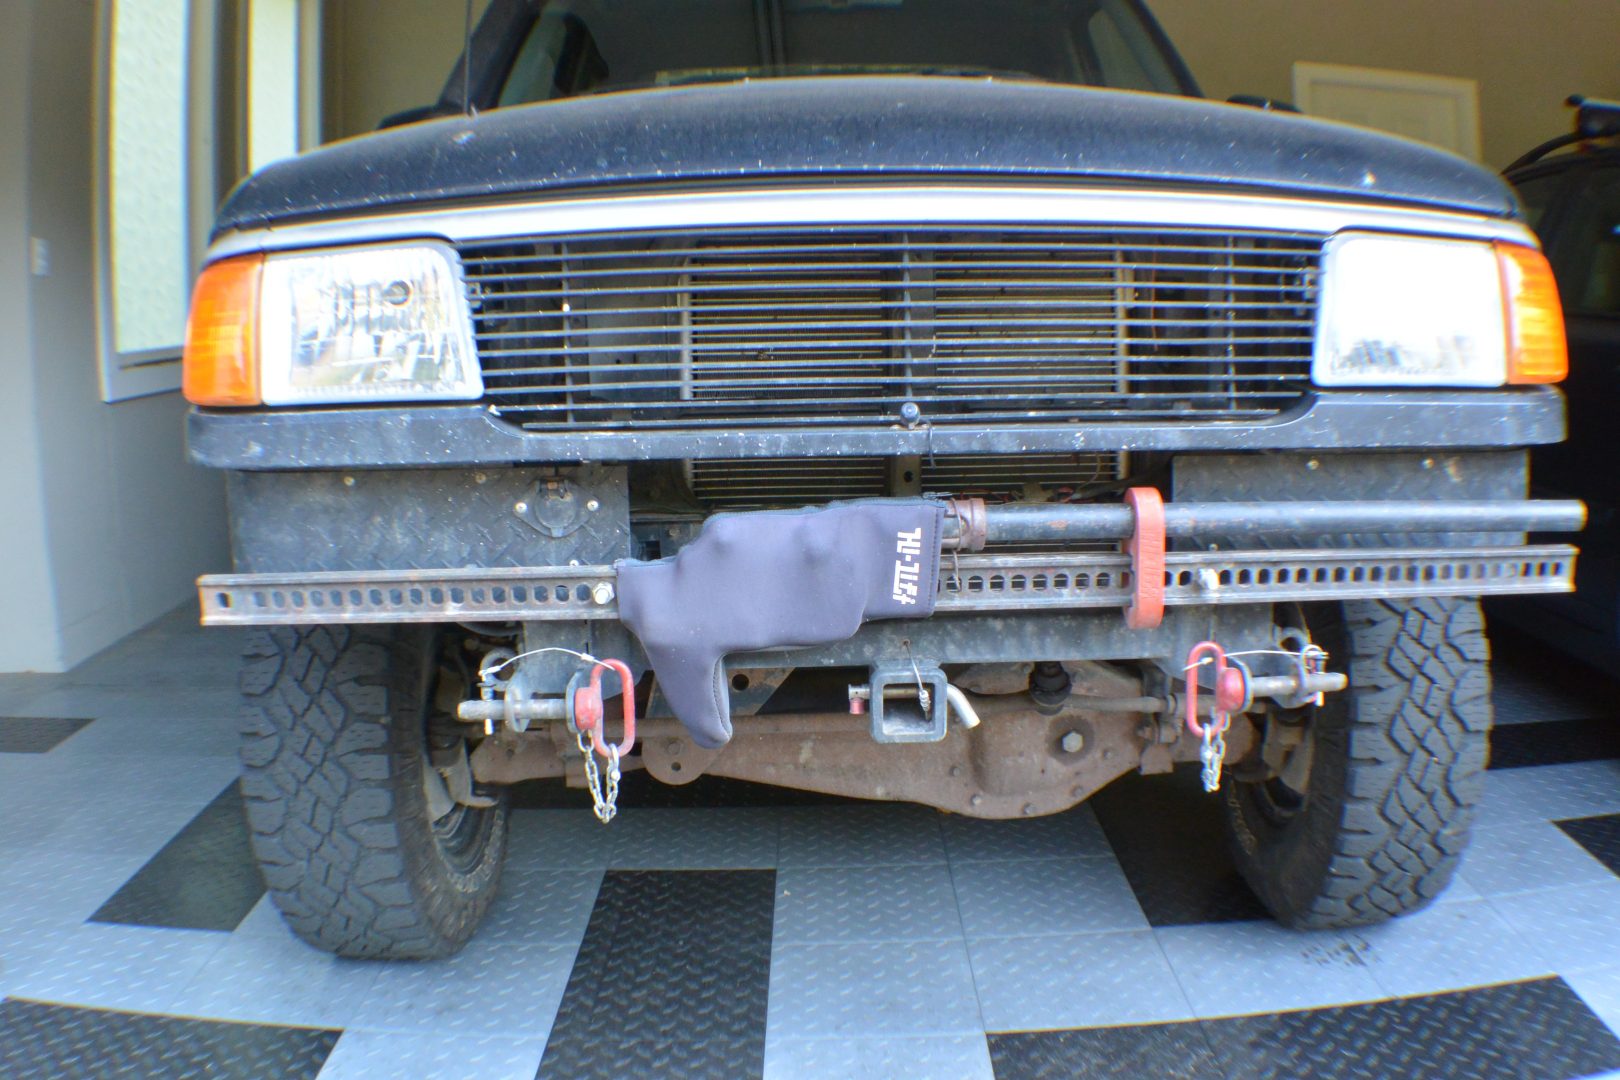
The front bumper was scrapped, both to reduce weight, and also to allow the massive Hi-Lift jack trellis and body to be mounted for easy access. A front hitch was added for carrying bikes or cargo.
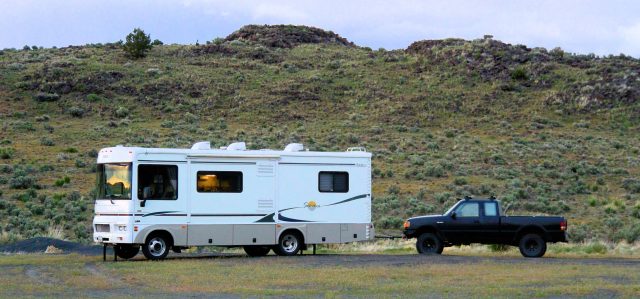
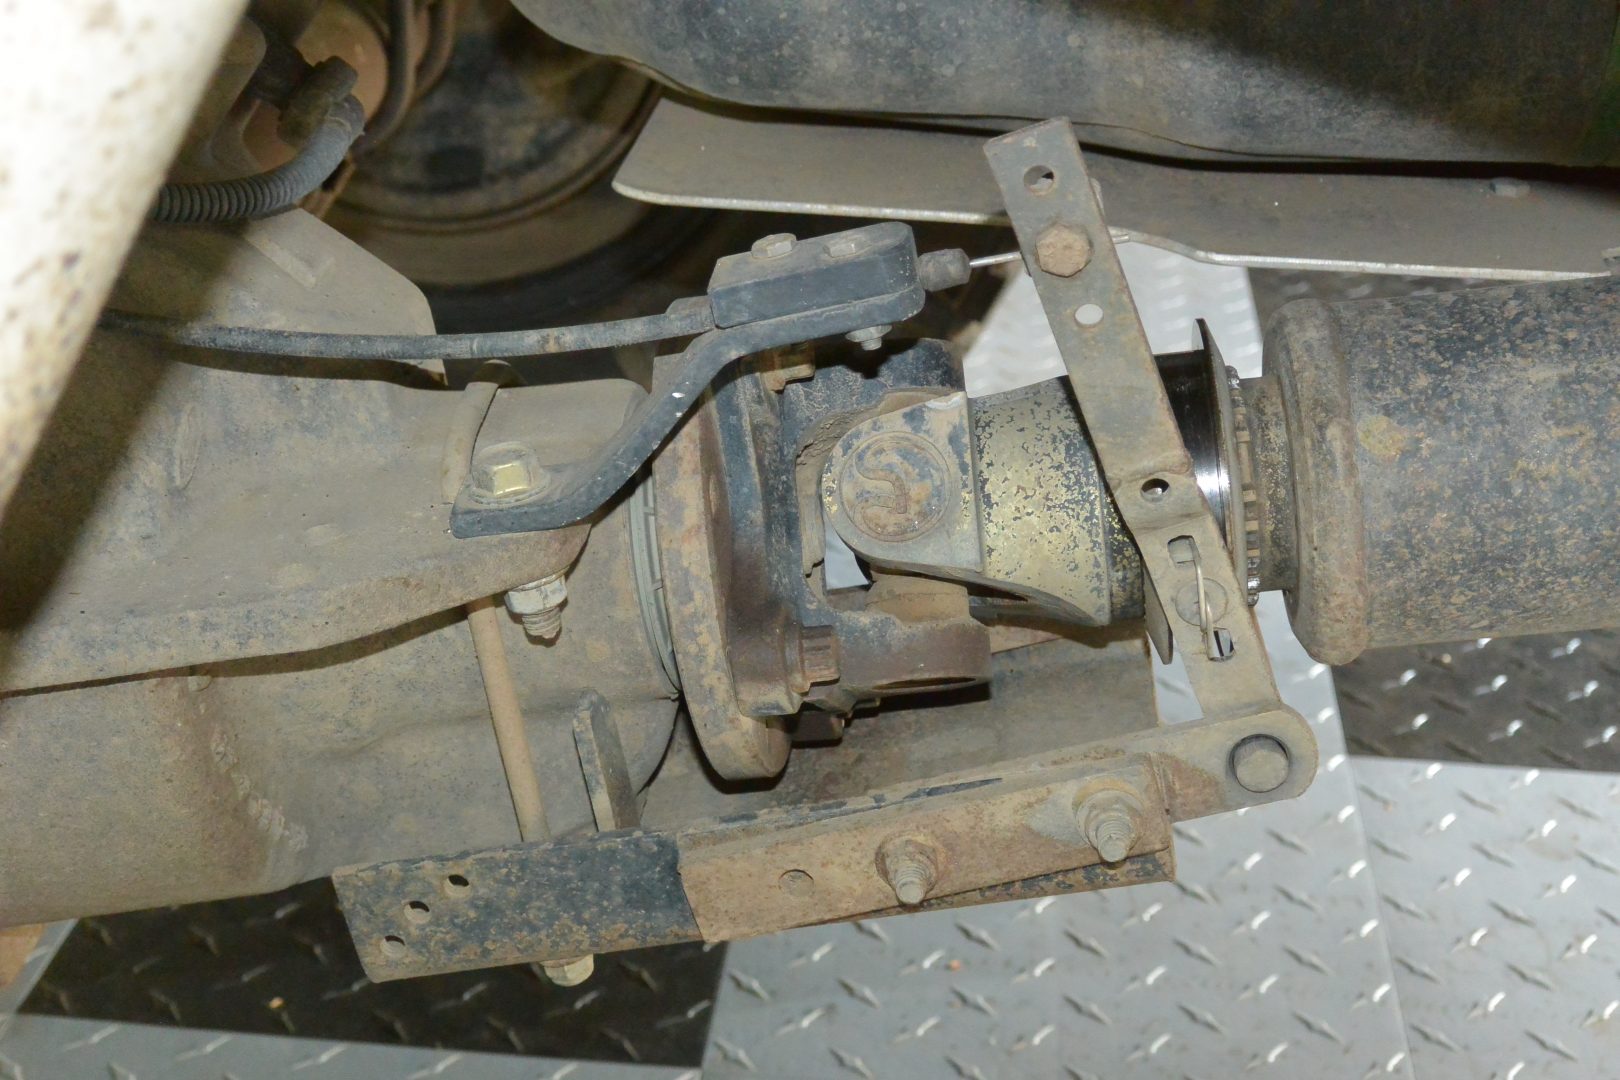
Flat Towing – – Ralph wouldn’t even be a consideration as a “toad” in his stock form, because he was incapable of being towed behind a motorhome (on his own wheels). A driveline modification by Remco allowed full disconnect for flat-towing (it’s the collar and linkage on the end of the driveshaft). Tow-bar brackets were welded directly to the front frame ends for super security (above, with red-handled latching pins). Supplemental braking action is by ReadyBrake, no electrics or hydraulics, full proportional braking. Very reliable.
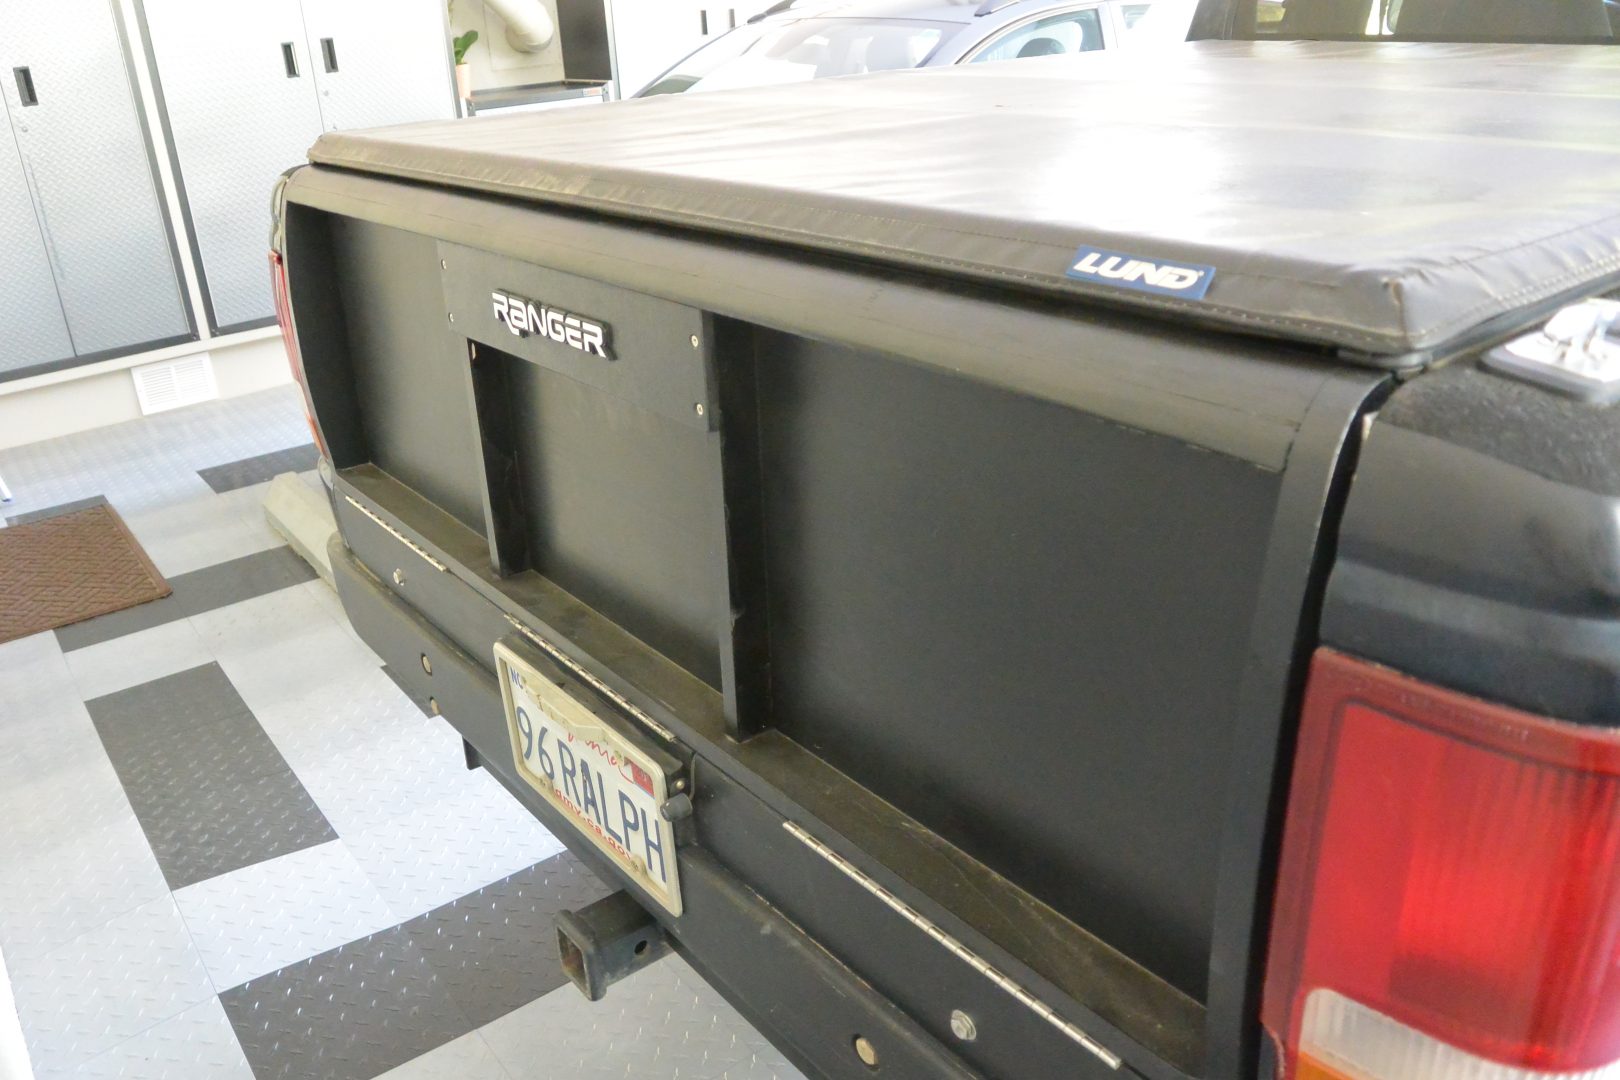
Throughout the whole years-long process, things were replaced or eliminated to keep towing weight down to a reasonable level (about 4000 pounds). Lightweight tailgate, skid plates, and tonneau cover helped keep Ralph “fit and trim”.
Quite a saga, don’t you think? And remember, these are just the highlights, there’s lots of stuff not mentioned like deep transmission sumps, K&N air filters, LED lighting, and on and on. You know, boring stuff. Sometimes I feel like we’ve “done it all”, but then again, you never know what the next five years will bring. Stay tuned.
I see you have air tabs on roof and sides – did you add them? If yes, do you think they improved handling and/or mileage?
Thanks,
John
Hi John,
The Airtabs were an inexpensive “experiment”. I’d love to say that they improved mileage and kept the dust off the backside of Howie – – but it’s not true. HOWEVER – – one striking change was the difference when passing big trucks going in the opposite direction on narrow roads. Before Airtabs, Howie would take a big slap and rock/weave once or twice. After Airtabs, virtually no effect other than a brief ‘whoosh’. I’ve spoken with other RV’ers and they report similar results. For $200 or so and a few hours’ work, it was worth it.
Hope that helps,
G.
Thank you. Exactly what I was wanting to find out before making that investment.
John
Greg,
I love the “Danger- High Power Area” sticker on top of the battery…deliciously threatening. I’ve been waiting to see you post these goodies since I subscribed, all well worth waiting for and it looks like a terrific job on all your mods. We’re mostly rv park types though with a very occasional off grid stay but I certainly can appreciate all the hard work. Thanks again!
Drew
Hey, Greg — You don’t happen to have an “available” brother do you? At least almost as handy and handsome as you? And with an RV? Just wondering. (And yes, I read the whole article. Howie, Ralph, and Karin are lucky to have you. 😉 ) Mountain Mama
Diane, thanks for the praise – –
alas, there is only one of me, and spread pretty thin even without a job.
:o)
Greg…I noticed an old school Kel Light in the motor home.
Toss that thing in the trash!
Check out the new Pro Stylus LEDs from Streamlight. Not much larger than a pen light, some are USB rechargable, they are white light monsters in a little package.
http://www.streamlight.com/en-us/product/product.html?pid=299
Hey, thanks for the tip. But knowing myself, I’ll probably keep the old one AND get the new one. I have a horrible tendency to buy flashlights even after I already own ten times more than I can use.
As for brightness, I actually purposefully keep some dim ones on hand for night hikes, to keep my night vision a little less battered.
I like the rechargeable idea though. Save me ten pounds of spare batteries :o)